
With a Microsoft account, you will be able to configure SSO in 2 ways: OAuth & SAML. The steps required to configure both options are listed below. Only one option can be used at a given time
Configuration Using OAuth
Google APIs use the OAuth 2.0 protocol for authentication and authorization. Google supports common OAuth 2.0 scenarios such as those for web server, installed, and client-side applications.
Steps for configuration
- MSO-1: Login to your MyVCM instance
- MSO-2: Select “System Settings” option in RHS top Menu (“gear” icon)
- MSO-3: Click on “Single Sign-On” (“edit” icon)
- MSO-4: Tick check box of “Activate Single Sign On”
- MSO-5: Select “Microsoft” under “SSO Provider Options”
- MSO-6: Select “OAuth” in-front “Microsoft”
- MSO-7: Click “Save”

Configuration using SAML
Using Security Assertion Markup Language (SAML), you can use your Microsoft Azure credentials to sign in to enterprise cloud applications via Single Sign-On (SSO).
Steps for Configuration
- MSS-1: Login into Microsoft Azure portal at portal.azure.com using your administrator account and click on Azure Active Directory on the left
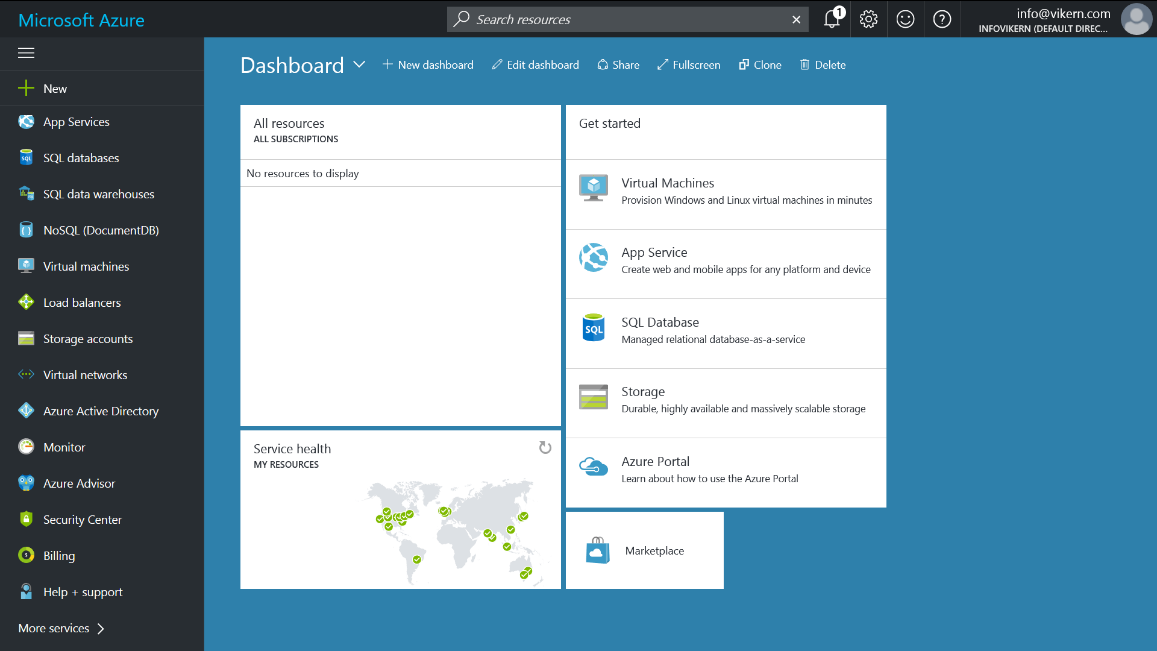
- MSS-2: This will open the Default directory. Click on “Enterprise Applications” on the left-hand side menu

- MSS-3: Click the link of “+ Add” on top menu

- MSS-4: Portal will display a list of applications. Click on “Add Your Own” on top

- MSS-5: Portal will display the wizard for creating a new custom app
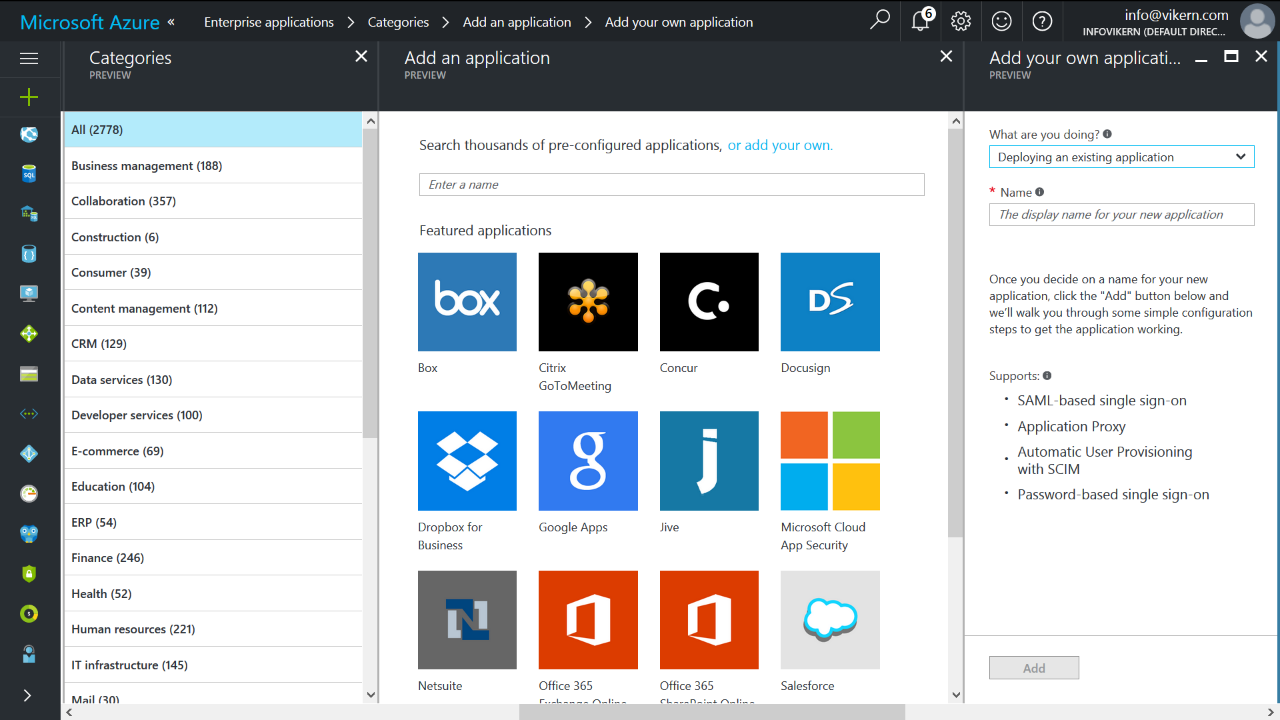
- MSS-6: Select “Deploying an existing application” & enter name as “MyVCM”. Then click “Add” button

- MSS-7: Once the application is created successfully, portal will display options to configure the newly created app. Click on “Configure Single Sign-On” from this screen.

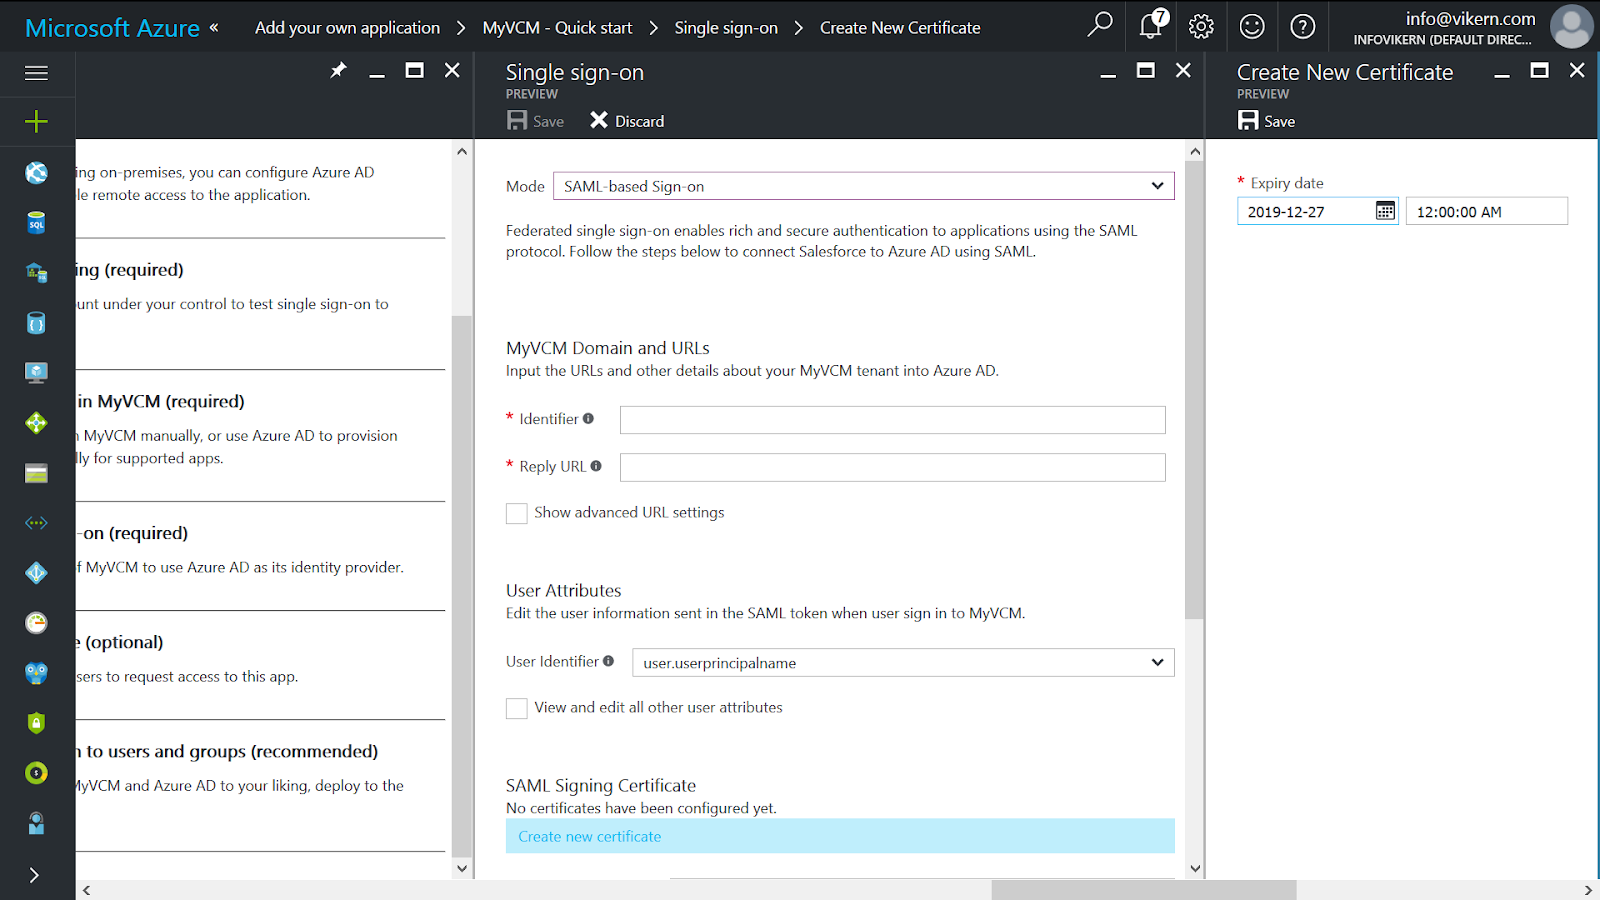
- MSS-8: In the configuration window, enter the following information
- Identifier
- This is the SSO URL for SAML.
- https://<your-domain>.myvcm.net/main/resultssogateway.aspx
- Reply URL
- Same as Identifier
- User Identifier
- Select “user.userprincipalname”
- Notification Email
- Provide email address of your administrator managing SSO
- Click “Create New Certificate” to proceed

- MSS-9: Portal will display attributes to define the expiry of certificate
- A certificate can be made available for a maximum of 2 years
- Select an expiry date & click “Save” button.
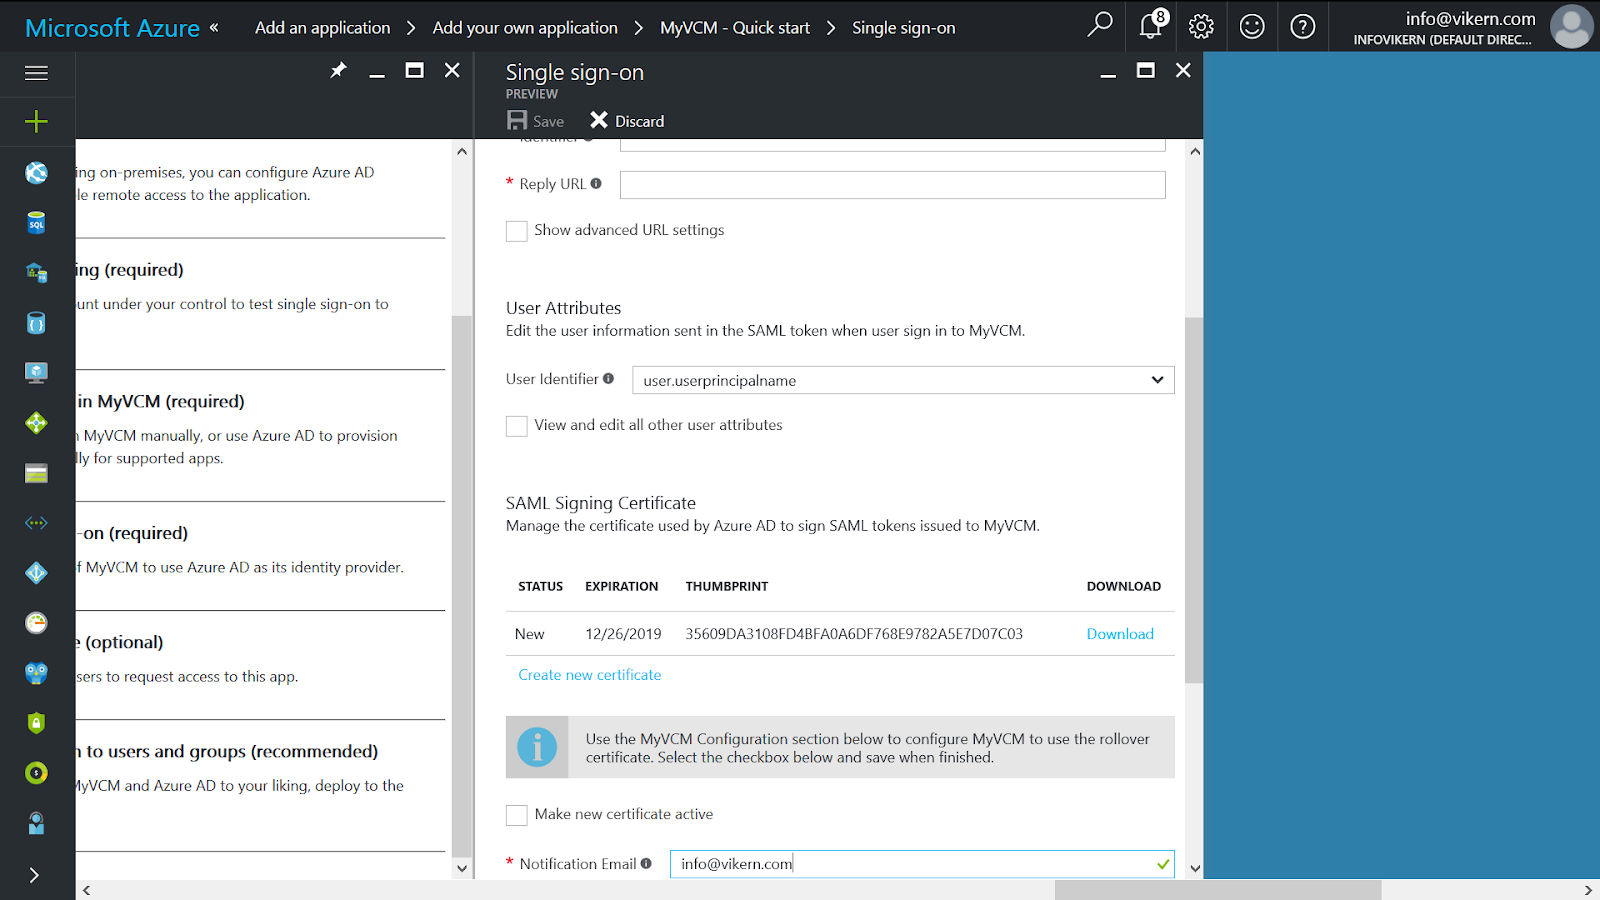
- MSS-10: Once an expiry date is chosen, portal will display the certificate under heading” SAML Signing Certificate”.
- Once the certificate is created choose “Make new certificate active” and click on “Save”.
- MSS-11: Click on “Configure MyVCM” and then click on “SAML XML Metadata”.
- Download the XML metadata and save it. (This will be used in next step).

- MSS12: Follow steps MSO-1 to MSO-5 as provided and then,
- Select “SAML” in-front “Microsoft”
- Upload XML file downloaded in step MSS-10. This field is mandatory
- Click “Save”
