Steps for configuration
-
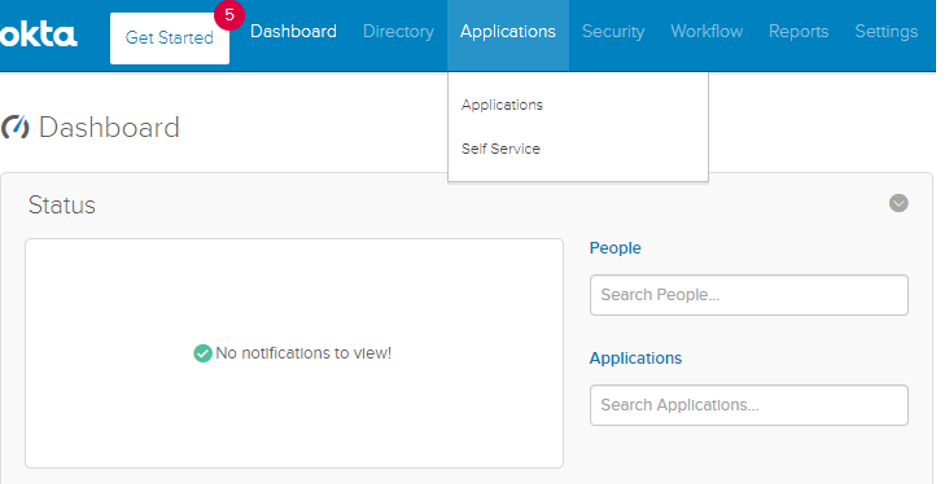
Sign in to your OKTA Admin console using your administrator account. Select Applications under Applications
Select the "Add Application" button- a service/app to your Domain
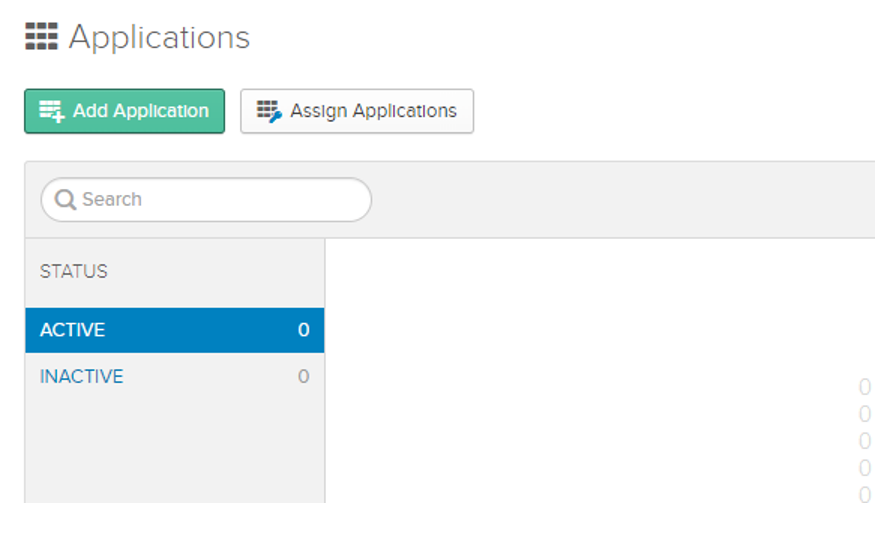
Click Create New App
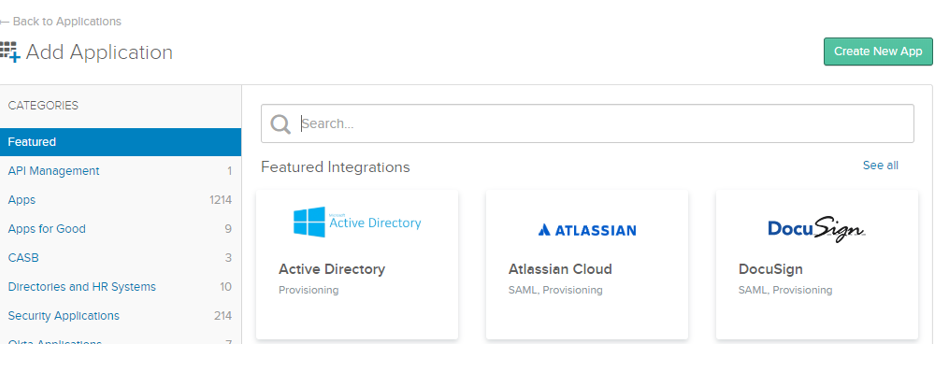
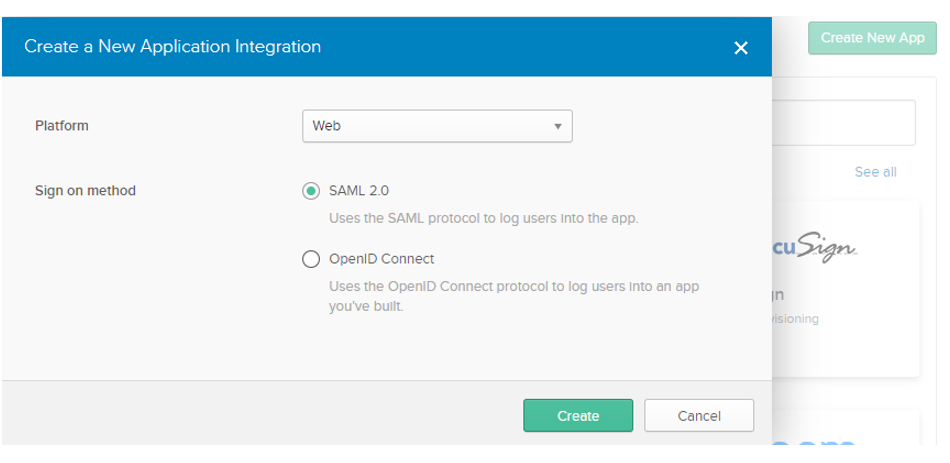
Select the SAML 2.0 option and click Create
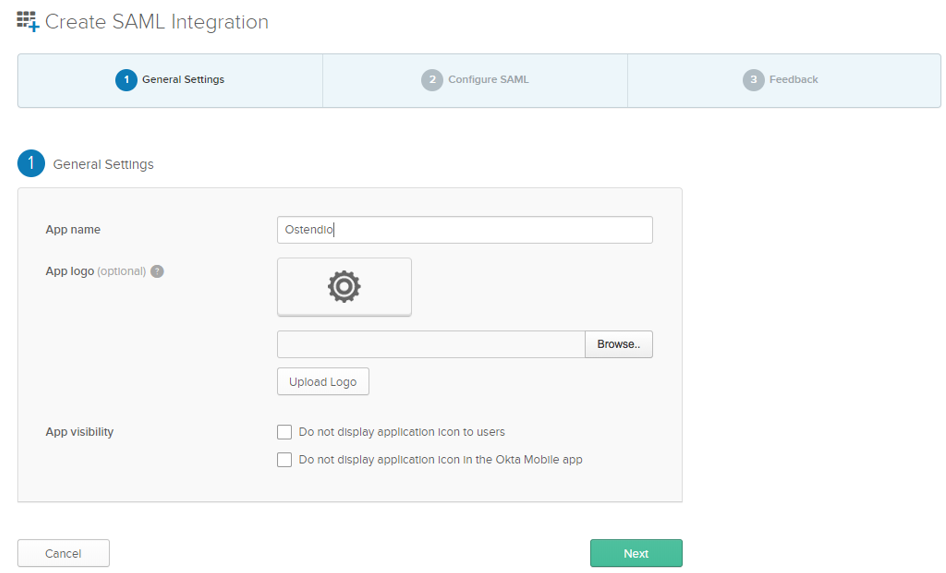
In the Basic Application Information window, enter the application name as Ostendio and enter a short description
- Click Choose file next to the Upload Logo field to upload a PNG or GIF file to serve as an icon.
- Ostendio logos are available at https://www.ostendio.com
In the Service Provider Details window, enter the following information:
*Single sign on URL
*This is the SSO URL for SAML
*https://<Your-domain>.ostend.io/main/resultssogateway.aspx
*SP Entity ID
*Same as ACS URL
*Name ID.
*"Basic Information" should be set to "Primary Email"
*Application User Name
*Select "Email"
Click "Next" to proceed

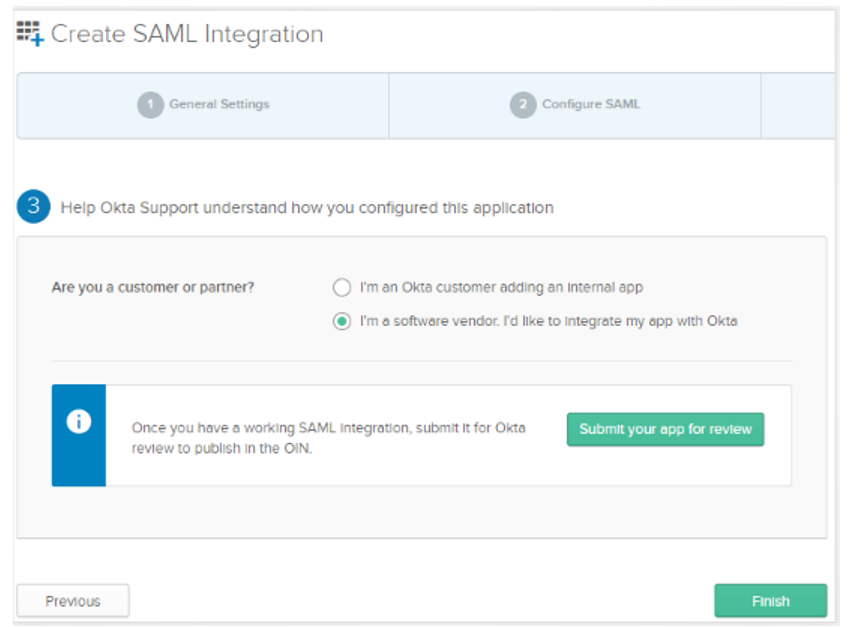
Do not make any changes on this screen and click Finish
Click View Set Up Instructions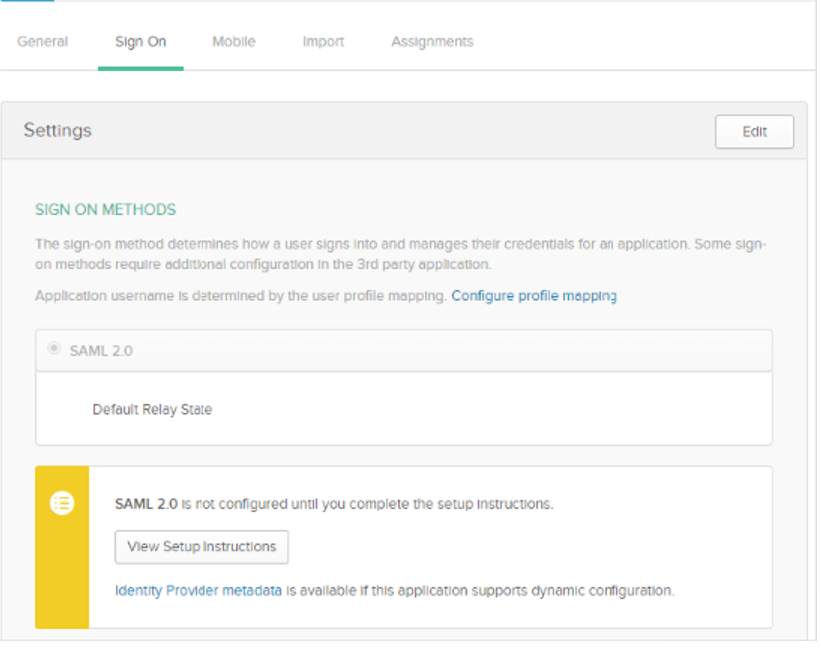
Save the URL mentioned in “SAML 2.0 Identity Provider Single Sign-On URL” (This will be used in later steps). This URL will be used to provide link on the xxxx.ostend.io login page for SSO link.
Download Okta certificate
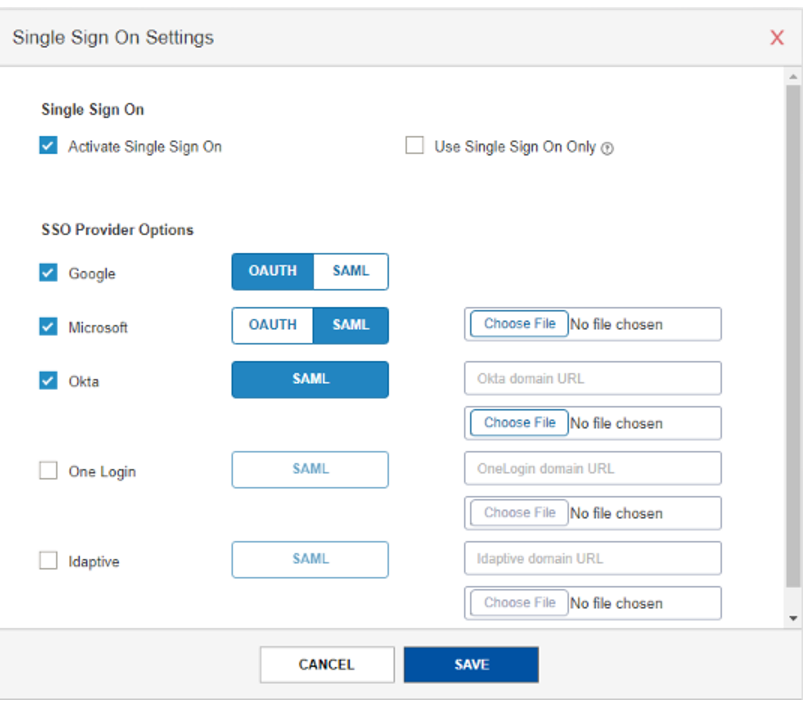
Follow steps GO-1 to GO-4 as provided and then:
- Select “Okta” under “Select SSO Options”
- Upload certificate file downloaded in step OKS-11. This field is mandatory
- Provide “Okta Domain URL” save in step OKS-10. This field is mandatory
- Click Save