Configuring Single Sign-On (SSO) for Ostendio Platform using SAML with Google Apps
Using Security Assertion Markup Language (SAML), you can use your G Suite credentials to sign in to enterprise cloud applications via Single Sign-On (SSO).
Note: Google states that SAML apps may take up to 24 hours to propagate to all users.
- Sign in to your Google Admin console using your administrator account
- Select “SAML Apps” under “Apps”
- Select the Add a service/App to your domain or click the plus (+) icon in the bottom corner
- Click Setup my own custom SAML App
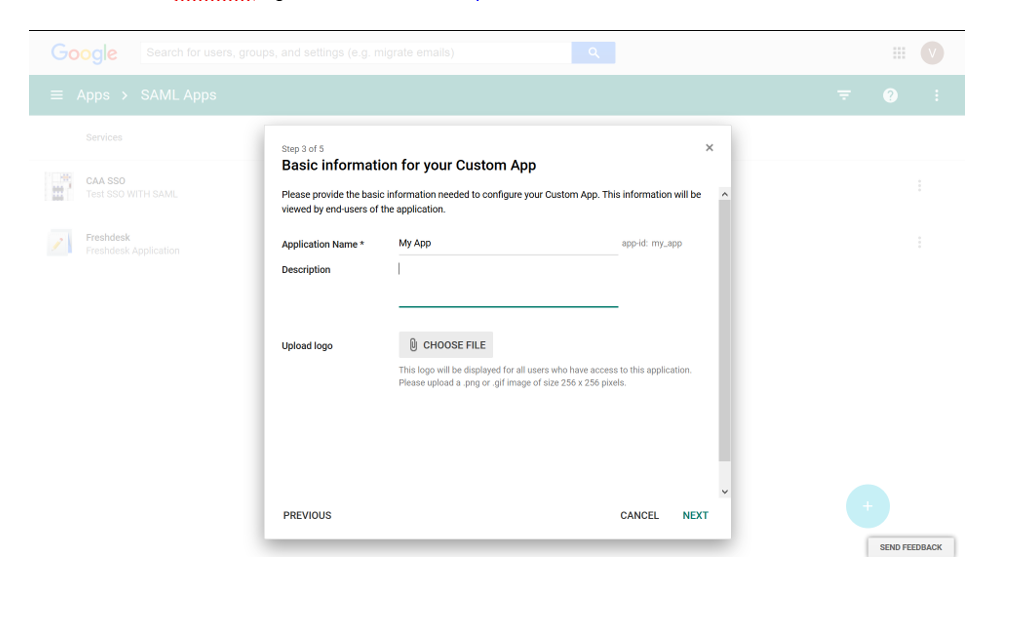
7. In the Basic Application Information window, enter application name as “Ostendio Platform” and enter a short description.
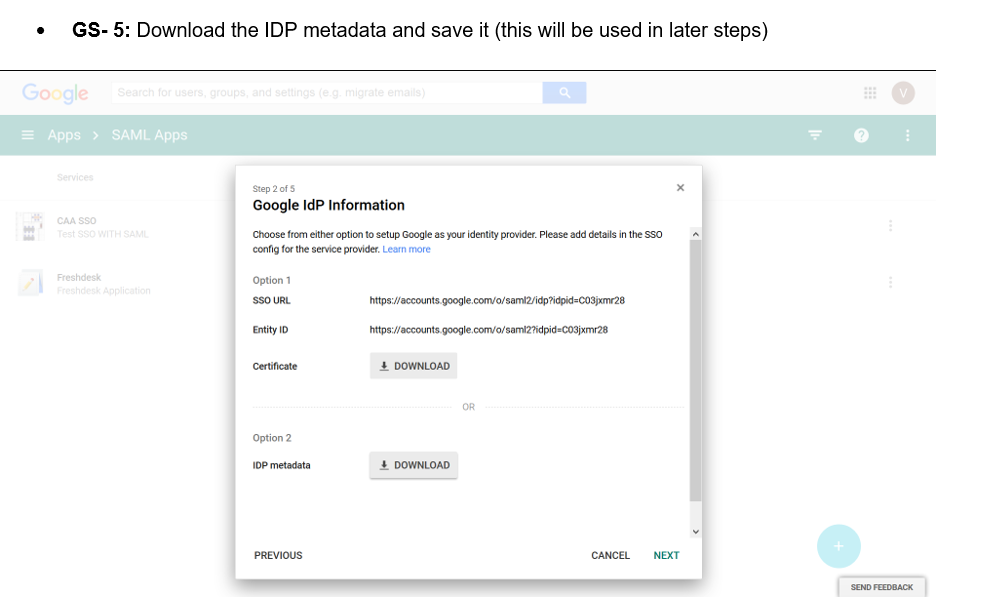
-
- Click “Choose file” next to the Upload Logo field to upload a PNG or GIF file to serve as an icon.
- Ostendio logos are available at https://www.ostendio.com
-
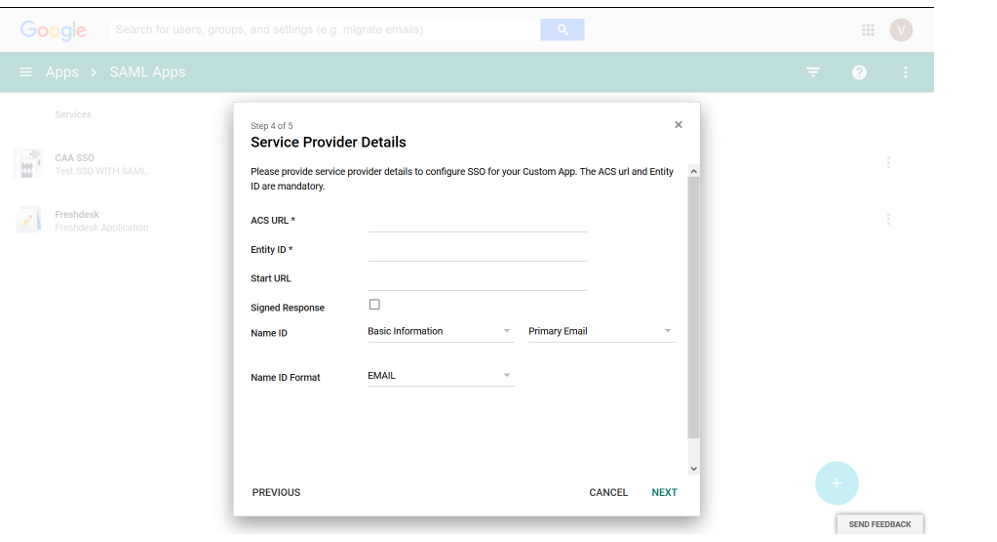
- ACS URL
- This is the SSO URL for SAML.
- https://<your-domain>.ostend.io/main/resultssogateway.aspx
- Entity ID
- Same as ACS URL
- Start URL
- This will be URL of your Ostendio Instance
- https://<your-domain>.ostend.io
- Signed Response
- Leave unchecked
- Name ID
- “Basic Information” should be set to “Primary Email”
- Name ID Format
- Select “Email”
- ACS URL
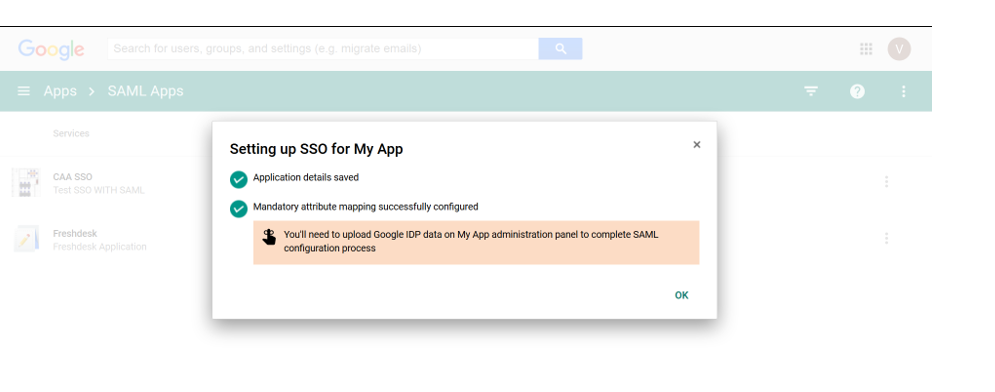
10. Do not make any changes on this screen and click Finish
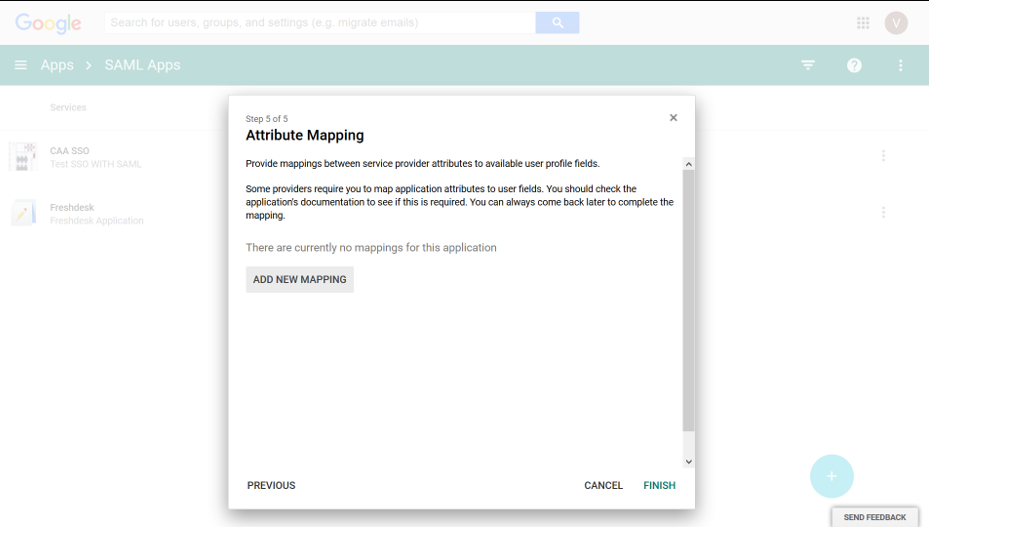
11. Click OK and close the window
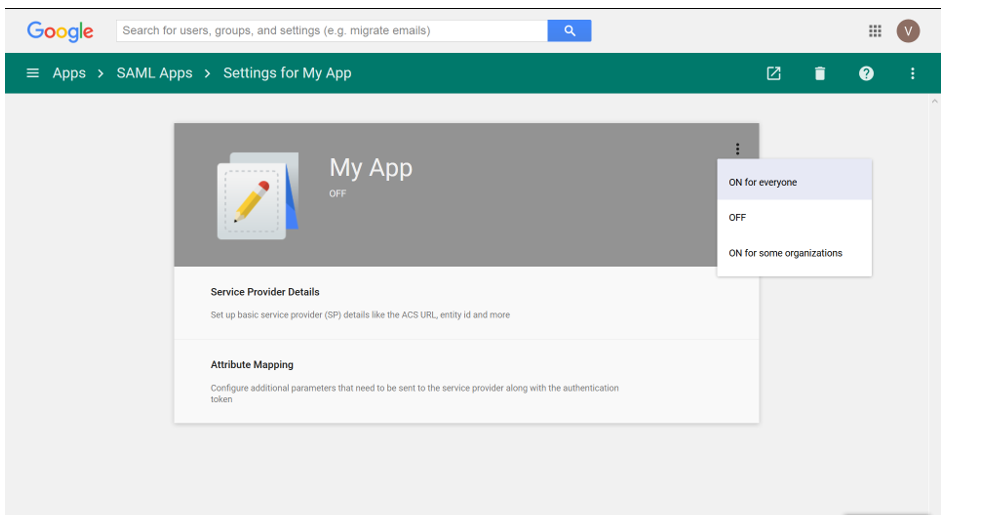
12. On the next screen click the setting icon and choose ON for everyone
-
- In System Settings, select the edit icon next to Single Sign On
- Toggle Single Sign On to On
- Choose Google
- Select SAML under ‘SSO Protocol’
- Upload your Idp or certificate that you downloaded in step 5 (required)
- Click Save to complete
