1. Click on the Settings icon in the left side tray. Select System Settings from the sub-menu. 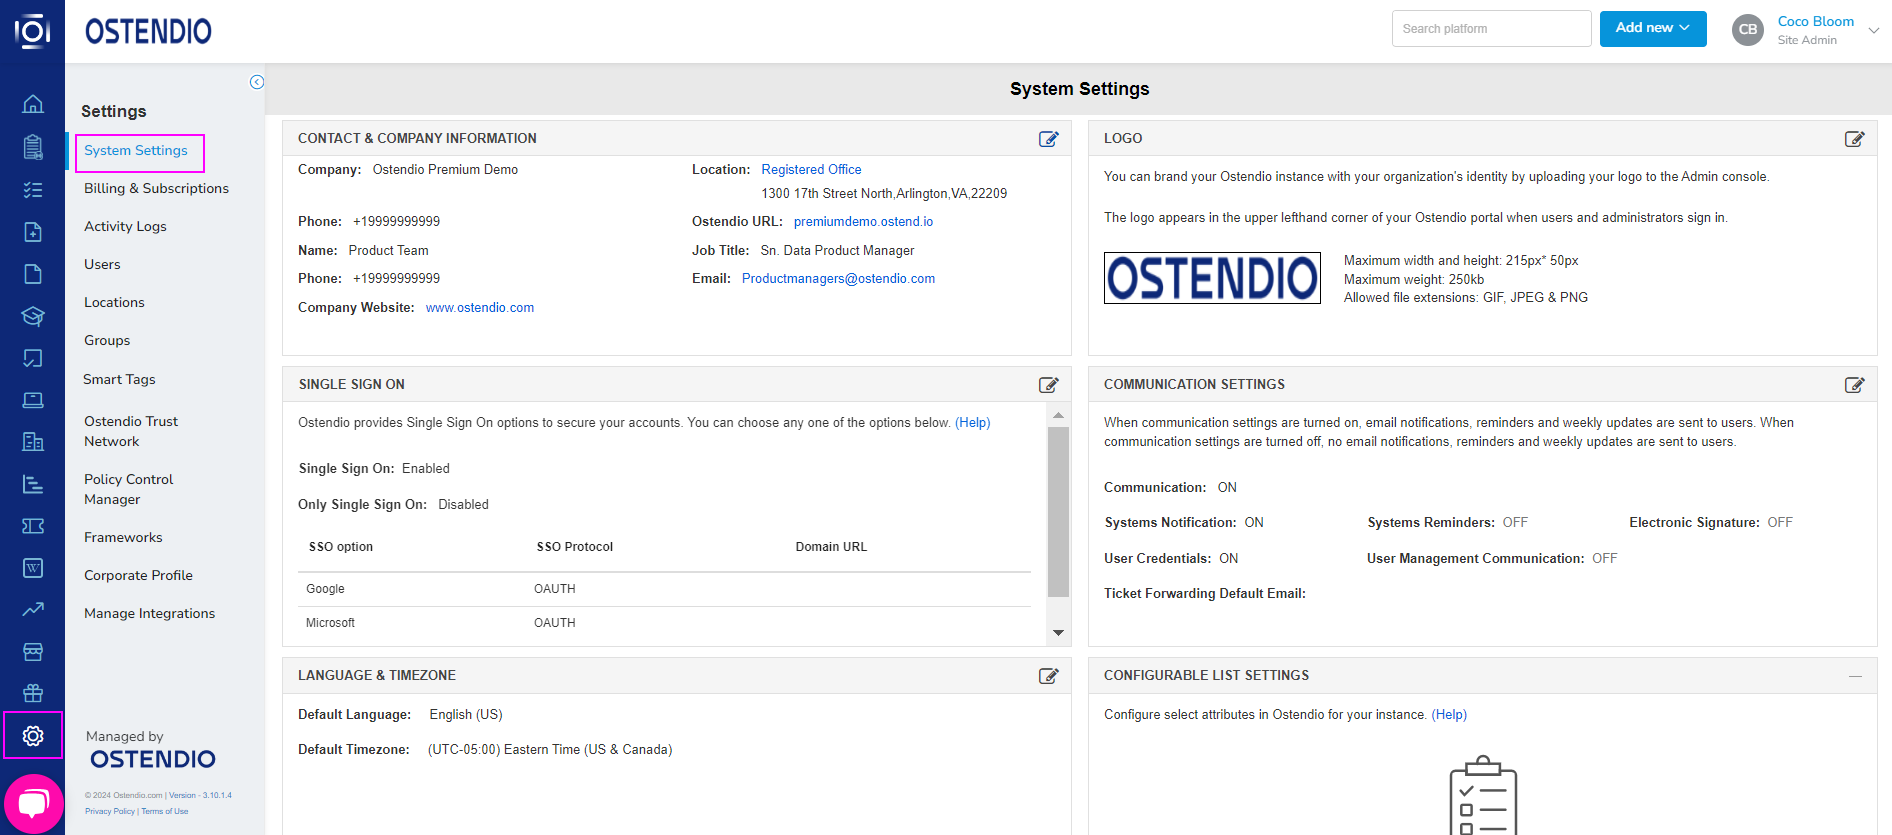
2. Locate the Logo section of System Settings and click the notepad and pen icon ![]() to edit your logo.
to edit your logo. 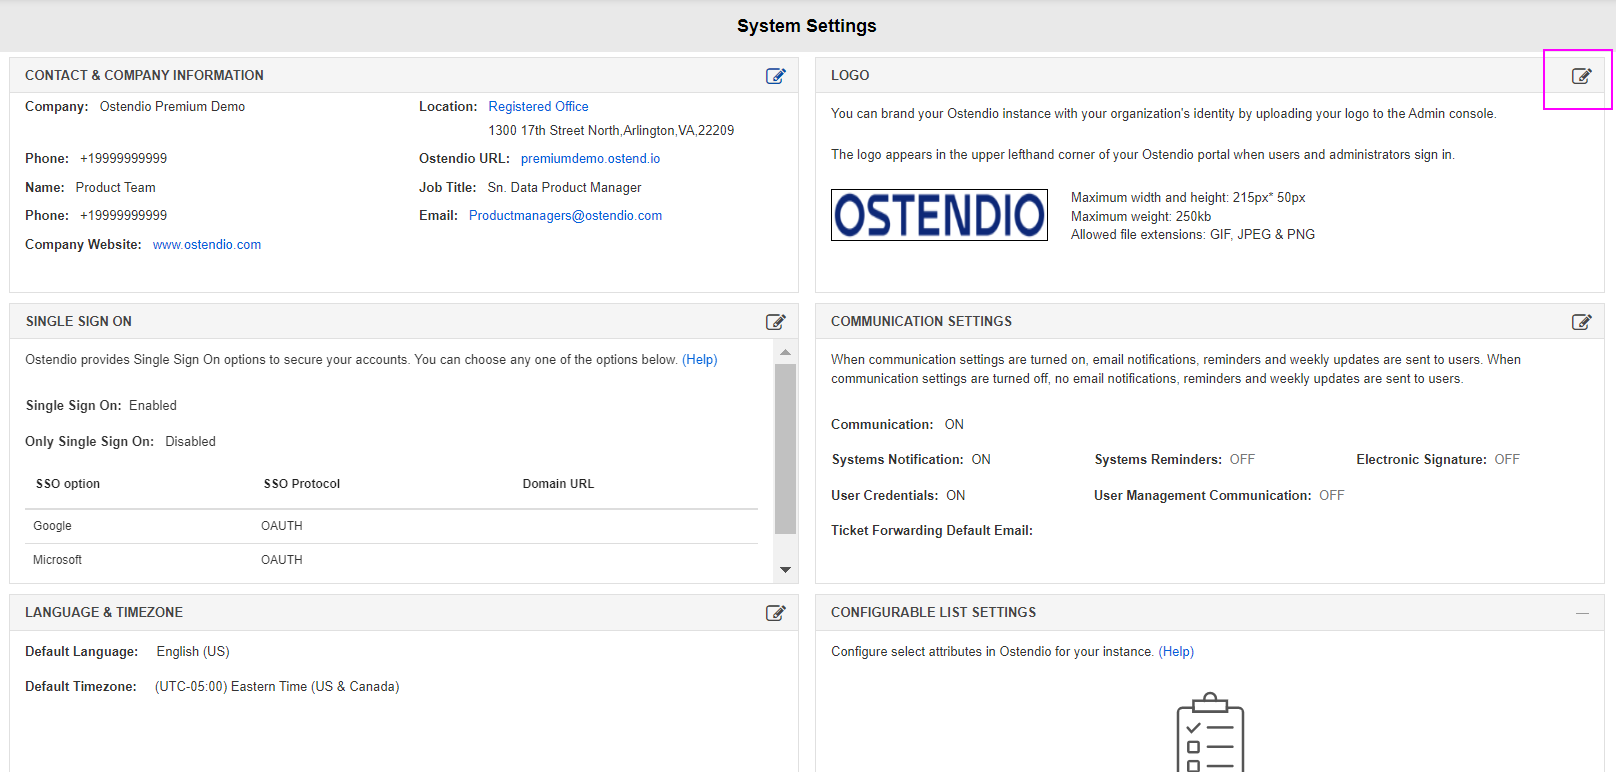
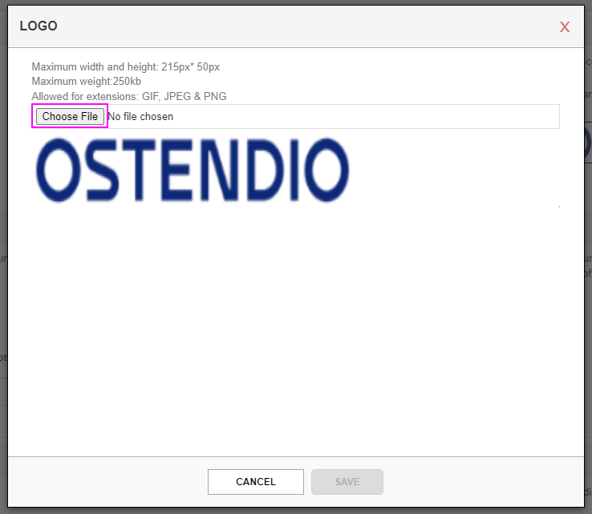
3. Click Choose file to add your organization's logo.
*Note the required parameters for the file. If you need any assistance uploading the file please contact our support team at Support@Ostendio.com.
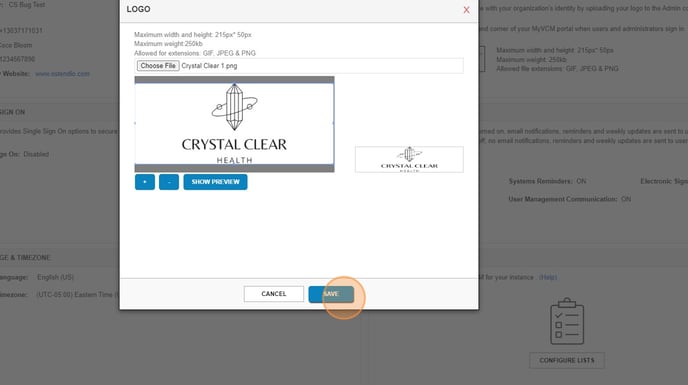
5. Use the adjustment points to crop your logo.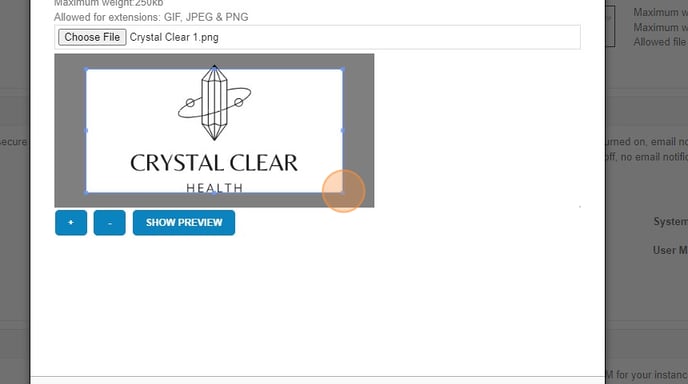
6. Click SHOW PREVIEW to preview how your logo will look.
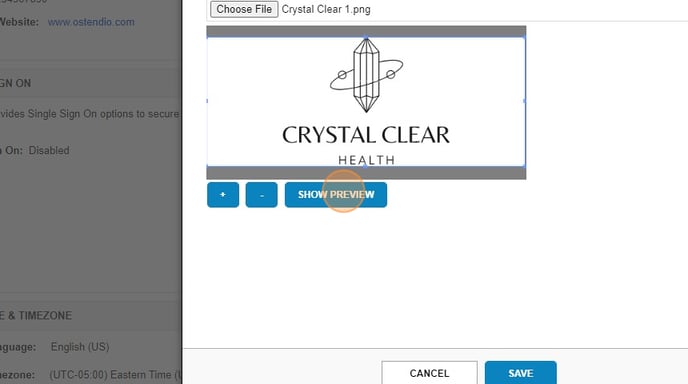
7. Once you are satisfied with how your logo looks, click SAVE.