Learn the steps to complete an assessment in the Ostendio platform.
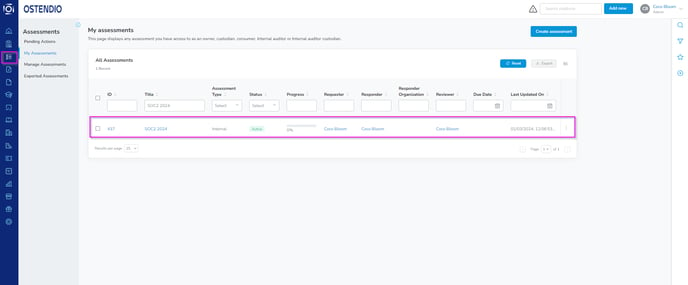
1. Click on the Assessments module on the left side of the dashboard
2. Select the Assessment you wish to complete
3. Click on the Questions tab at the top of the page.
a. Answer assessment questions by choosing the current compliance level of each control
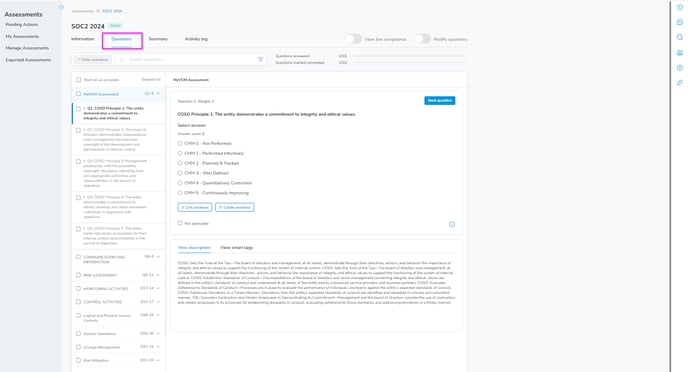
4. Provide evidence of each question as required. The system will automatically pull in evidence that has already been smart-tagged to that specific question if the option is selected during the assessment creation process. If missing evidence, you have the ability to send a ticket to a user to task them with providing evidence. For more information on adding evidence, click HERE.
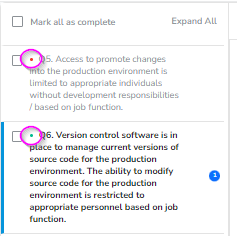
5. Question Status: When you have answered a question but not provided evidence for it, a red circle will appear next to the question number. When you have answered a question AND provided the evidence for it, a green circle will appear next to the question number.
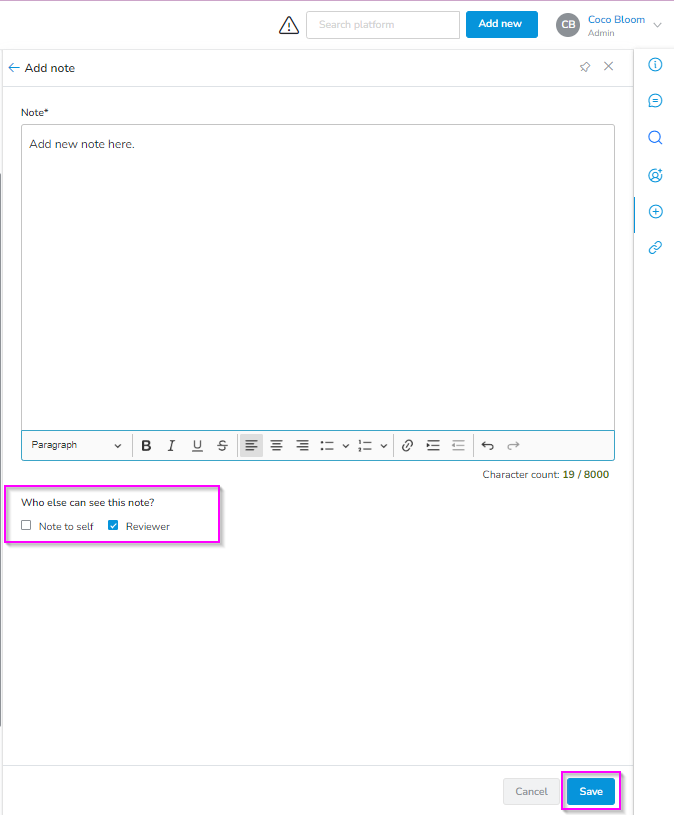
6. Add any notes you want to make for each question by clicking Add new in the right side menu and then select Note. You then have the option to make this note viewable to the Reviewer.
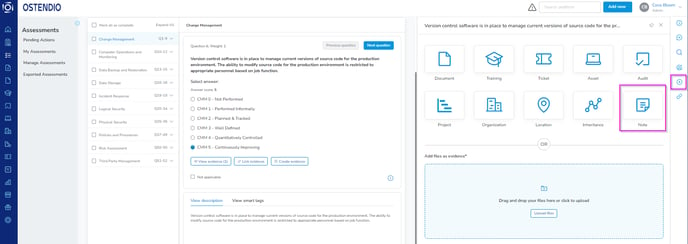
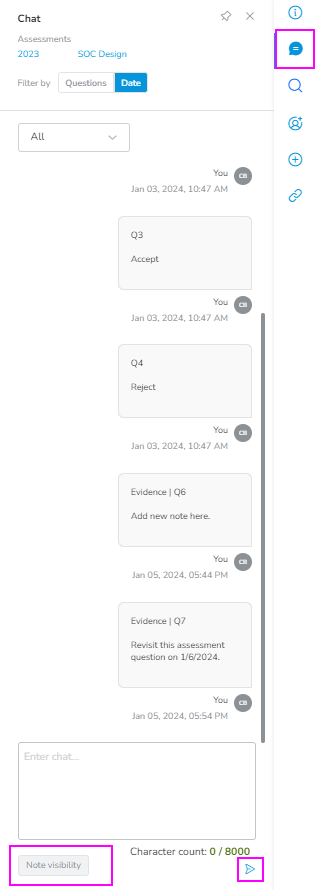
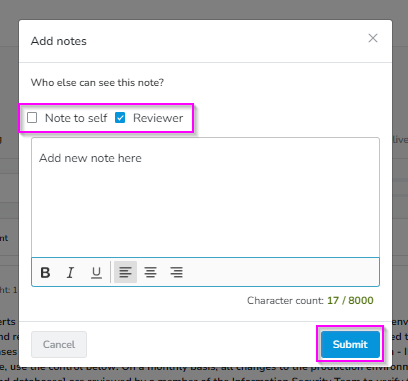
You can also add notes through the Chat function in the right side menu. Here you can also adjust visibility to either a Note to self or Reviewer. Simply type your note in the chat box and click Note Visbility. A window will pop up with the visibilty option and the option to Submit your note. Alternatively you can click the little blue arrow in the bottom right corner to sumit your note.
7. These notes can be exported at any time by clicking on the Activity log tab at the top and then filtering the Action category by Note added. You will then click the Export button in the top right, select XLSX, and click Export. 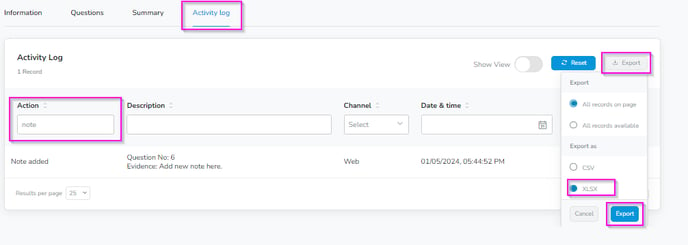
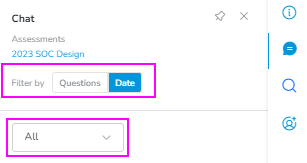
Pro tip: You can filter your chats/notes by Questions or Date the note was created. You can also select All Questions or a specific question from the dropdown.
