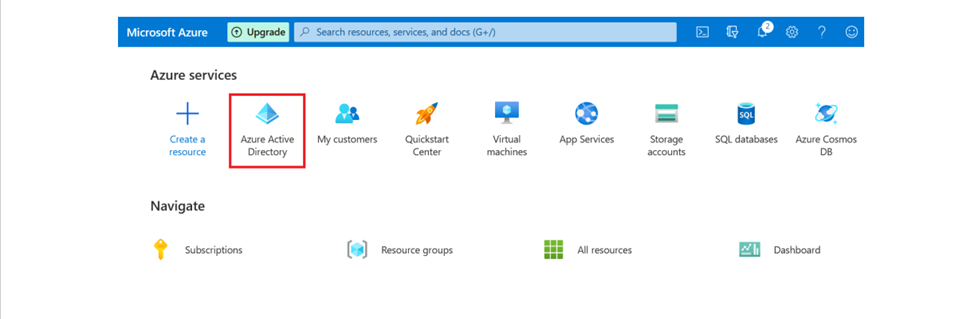
Step 1: Login in to the Azure Portal https://portal.azure.com/#home click on the “Azure Active Directory”
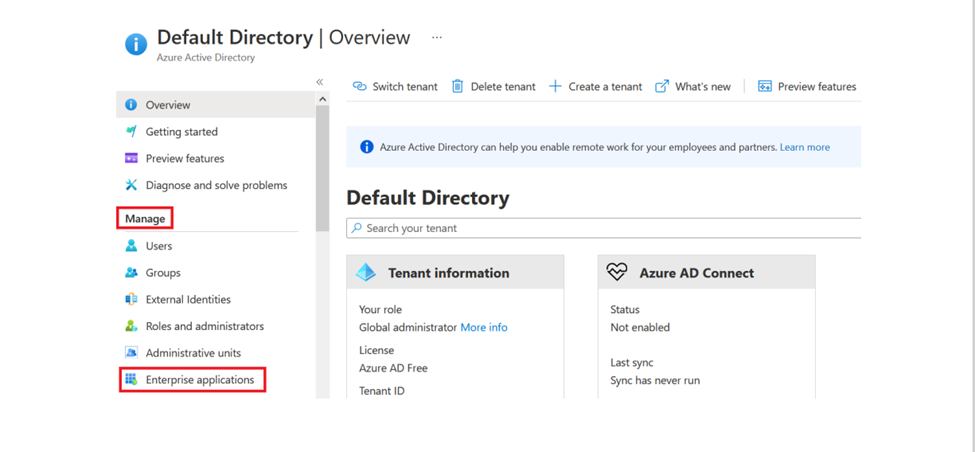
Step 2: From the left menu, under the “Manage” section, click on “Enterprise applications”
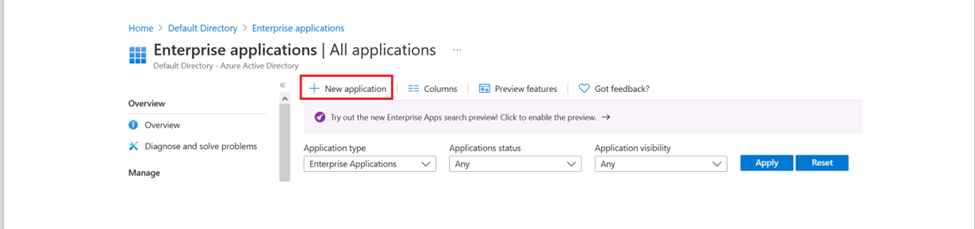
Step 3: Click on the “New Application”
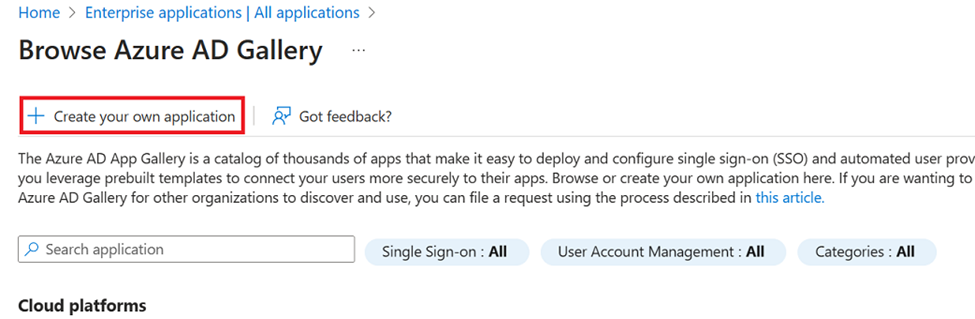
Step 4: Click on “+Create your own application”, a popup will appear.
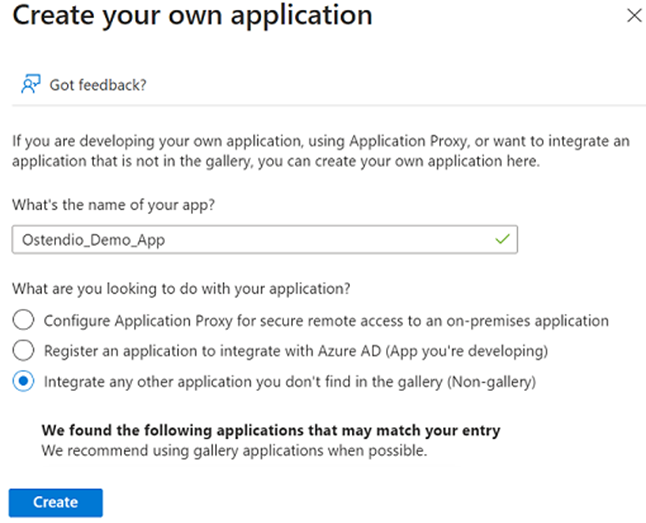
Step 5: Enter name of the application, and click on “Create”
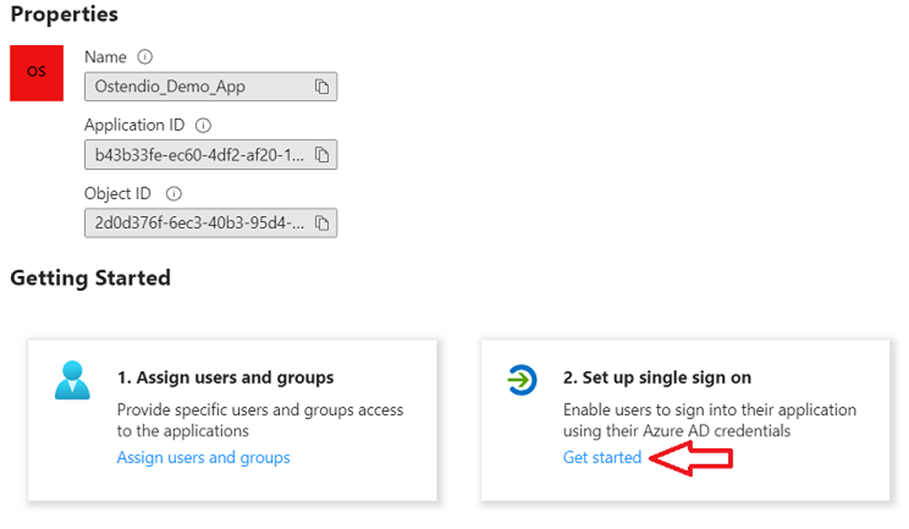
Step 6: Click on the “Set up single sign on”, and then “Get started” link
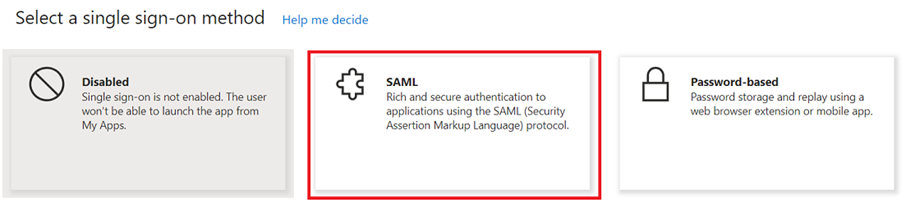
Step 7: Click on “SAML”
Step 8: Click on “Edit (Pencil)” link to setup single Sign-On
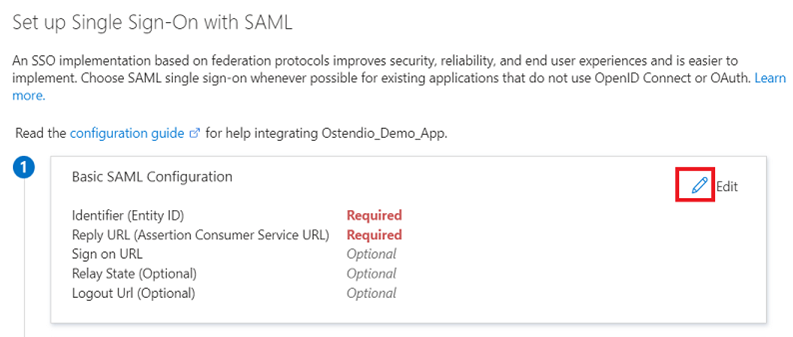
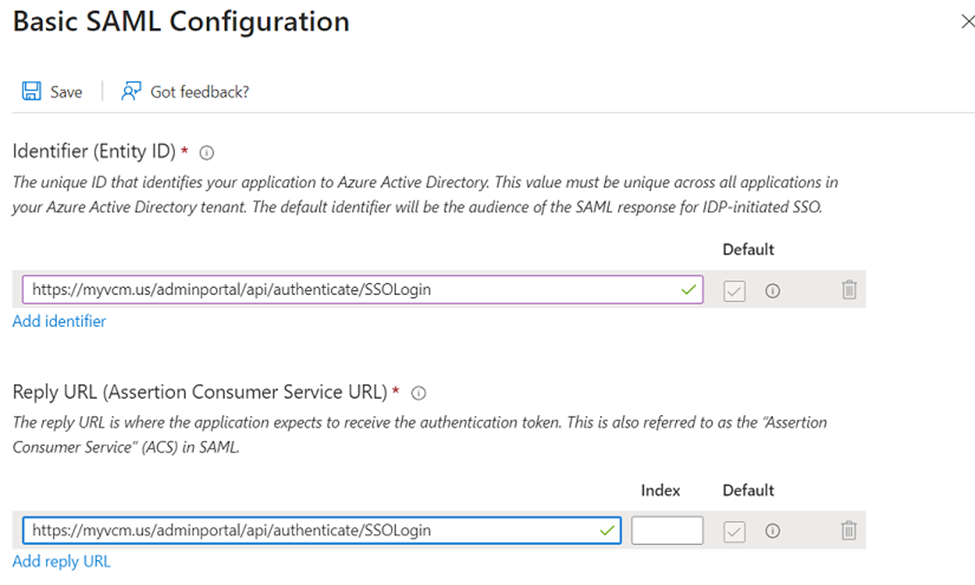
Step 9: Fill out the SAML Configuration as follows and click on “Save”:
- Click on “Add identifier” and add
- Identifier (Entity ID) - https://INSTANCEURL/adminportal/api/authenticate/SSOLogin
- Reply URL - https://INSTANCEURL/adminportal/api/authenticate/SSOLogin
NOTE : INSTANCEURL will be replaced with your application URL. For e.g. if your application URL is ostenio.ostend.io then INSTANCEURL will be ostendio.ostend.io and the identifier will be
https://ostendio.ostend.io/adminportal/authenticate/ssologin
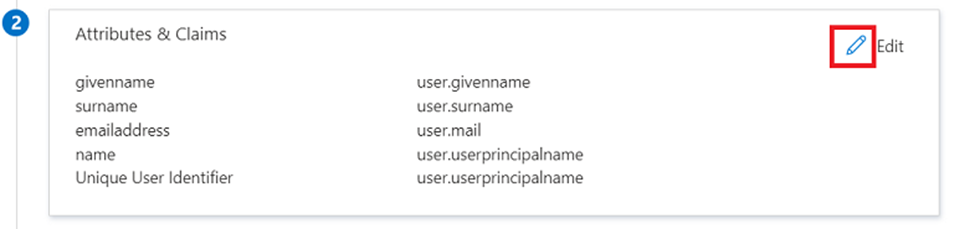
Step 10: Click on “Edit” link from “Attributes & Claims”
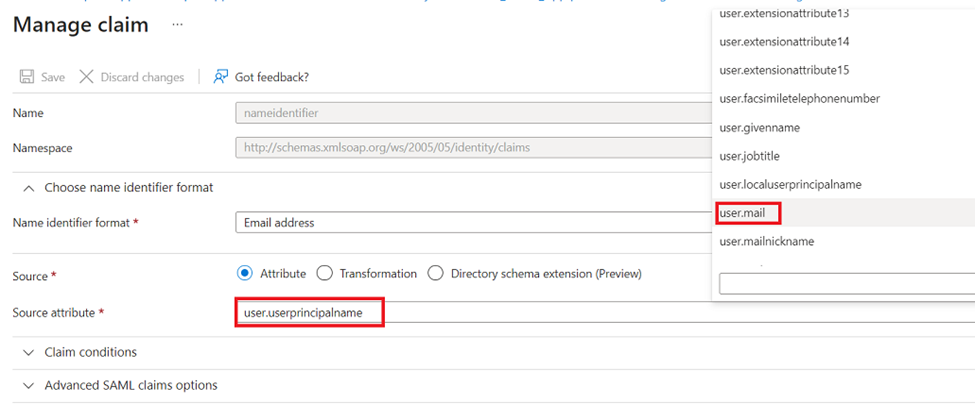
Step 11: Click on “Three horizontal dots” to set up claims

Step 12: Setup “Source attribute” as user.mail and click on “Save”
Step 13: Download “Federation Metadata XML” from “SAML Certificates”
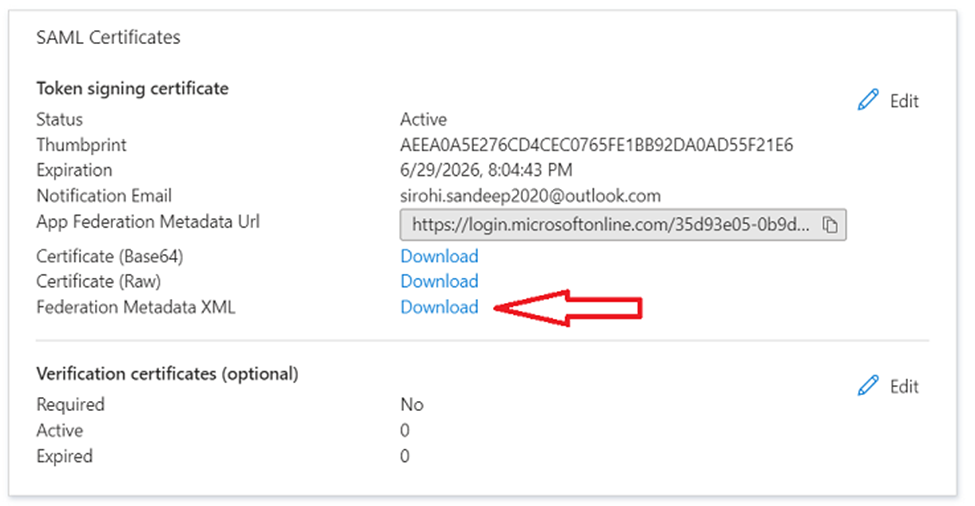
Step 14: Provide this downloaded certificate to the Ostendio Team.
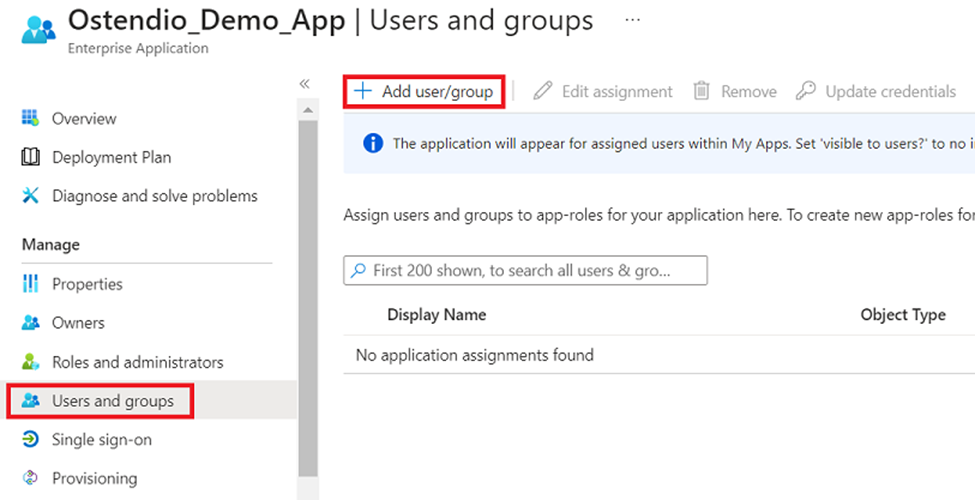
Step 15: Click on “Users and groups” from the left menu and then click on “+ Add user/group” to add the users/group to whom application will be accessible