Step 1: Log in to the Google account from the following link, and set the custom SAML app:
Note: Make sure you are signed in to a super administrator account.
Step 2: In the admin console, go to Menu, and click on three horizontal lines. Expand “App” and then click on “Web and mobile apps”

Step 3: Click on “Add app”

Step 4: Click on “Add custom SAML app”

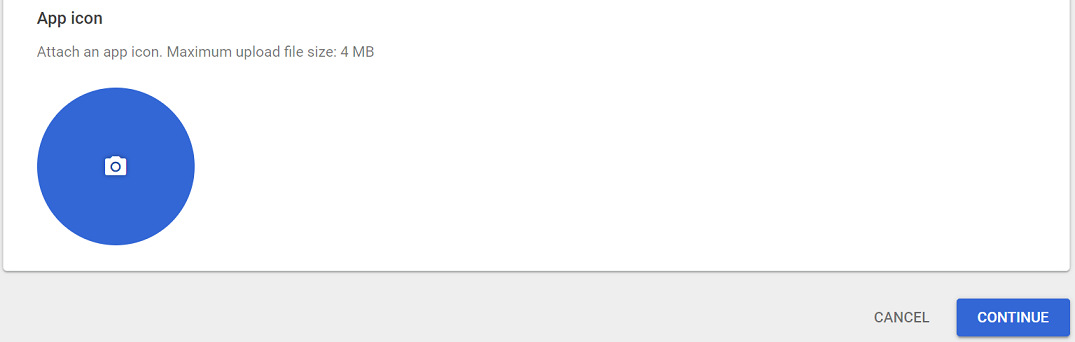
Step 5: Enter “App name” and “Description (optional) and click on “CONTINUE”

Step 6: Download IdP metadata by clicking on “DOWNLOAD METADATA” and click on “CONTINUE”


Step 7: Fill out the Service provider details and click on “CONTINUE”
- ACS URL - https://INSTANCEURL/adminportal/api/authenticate/SSOLogin
- Entity ID - https://INSTANCEURL/adminportal/api/authenticate/SSOLogin
NOTE : INSTANCEURL will be replaced with your application URL. For e.g., if your application URL is ostendio.ostend.io then INSTANCEURL will be ostendio.ostend.io and the identifier will be
https://ostendio.ostend.io/adminportal/authenticate/ssologin

Step 8: Click on “Finish

Step 9: To turn app on/off for everyone in your organization, click “ON for everyone” or “OFF for everyone”

Note: To turn on a app for set of users across or within organizations, select an access group, for details, follow the link:
https://support.google.com/a/answer/9050643?sjid=116284578774157900-AP
Step 10: Provide this downloaded certificate to the Ostendio Team.