In MyCSF (Note: A HITRUST MyCSF subscription is required)
- Log into MyCSF: https://portal.mycsf.net/
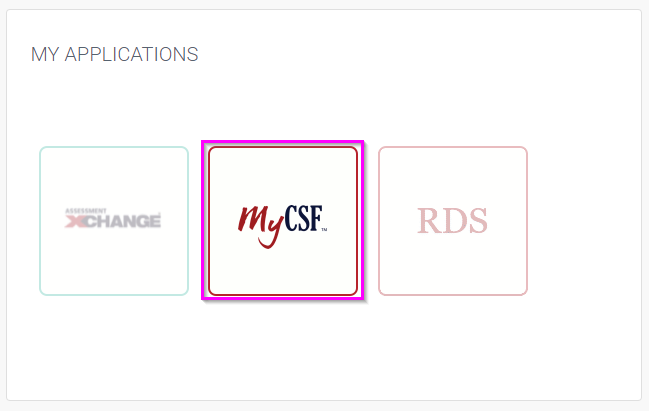
- Click on the MyCSF square:
- Select Analytics in the Blue Bar at the top:
![]()
If you don’t have a MyCSF object set up yet and would like some help, ask your CSM to put you in touch with one of our Professional Services consultants for a quick (complimentary) working session!4. After you have saved the CSV file, open it in Excel and re-save it as an Excel file or simply rename it to have the .xlsx extension.
Please note this will NOT work if you export the Excel file from MyCSF, as the MyCSF formatting for Excel files is not flat.
In Ostendio
1. Log into Ostendio and click on the Assessments icon from the left-side menu.2. Then click on the Create Assessment button in the top right corner:

3. From here, enter a title for your HITRUST assessment in the title box, ensure the owner of the assessment is assigned appropriately, and provide a due date for the assessment. Click Next:

4. Next select Create from Import. From the Import template drop-down select Create from MyCSF import. 
An Excel template has also been provided for you at the Download the Excel Template (Optional) link. If you already have a MyCSF exported file, do not use this template. Just upload the .xlsx file that you saved in MyCSF step 4.
5. Once you upload the file, the following menu will appear for you to select mappings. We recommend that you map as follows, then select Next: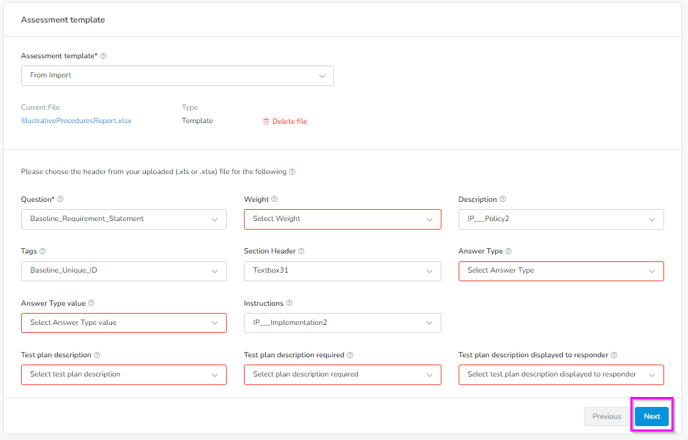


8. In the Questions step, you will be able to make changes to any question in your assessment, including adding and removing any questions and adding new sections. 
9. At the Assign step choose whether this assessment is internal or external:
-
- Select Internal Assessment for your own HITRUST readiness efforts.
- If you are conducting an assessment of another organization, you will send it to them as an External Assessment.

10. Last but not least, fill out any deadlines or add an internal reviewer and alternate reviewers to your assessment if you are assigning a team in Ostendio to help you on your HITRUST project. If you’re not sure who that will be yet, don’t worry you will be able to edit this later!
11. Select Publish

12. Once you select Publish, the new assessment will appear in your list of assessments in Ostendio:
