- Click on the Assessments module on the left-side tray.
- Click on the Create assessment button in the top right corner.

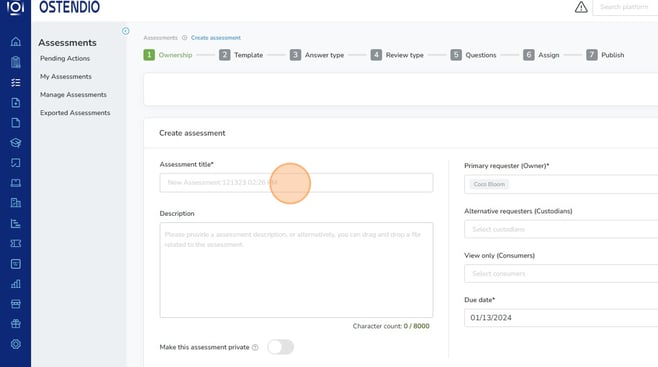
1. Ownership
Add your assessment title. In this step, you may also add Custodians and Consumers, adjust the Due Date, and choose if you would like this assessment to be private.
- If you have an Internal Auditor who needs to review your assessment, assign the assessment for internal review
- Need other staff members to stay in the Internal Audit loop? Add Internal Audit Custodians to allow them to access and review the Assessment
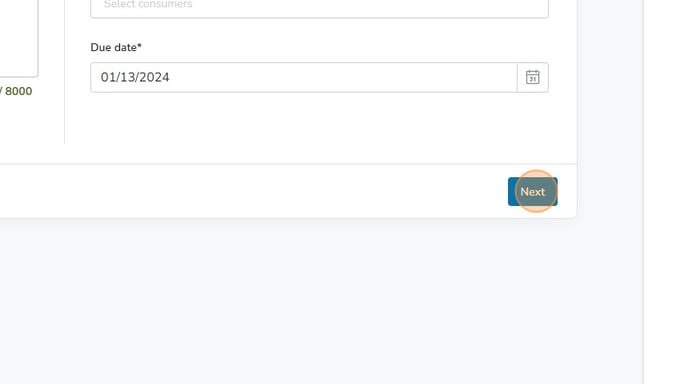
- Click Next.
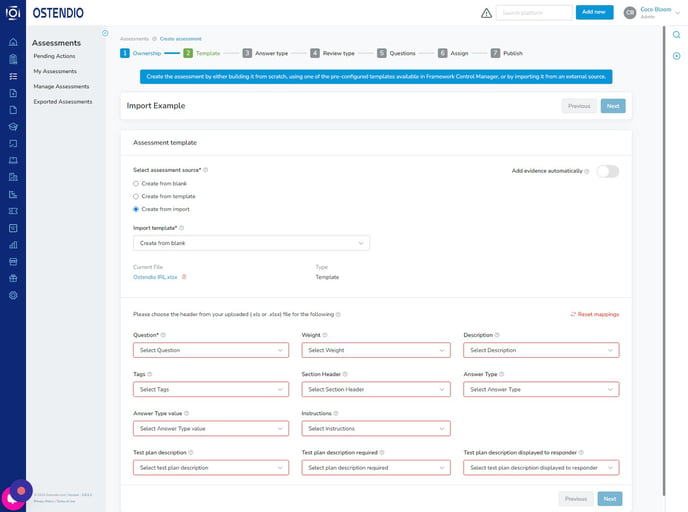
2. Template
- Select Create from Import as your assessment source.
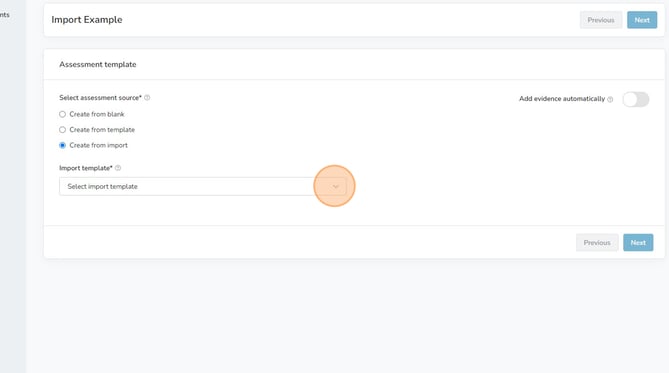
- From the dropdown select Create from blank.
- Click Upload Files.
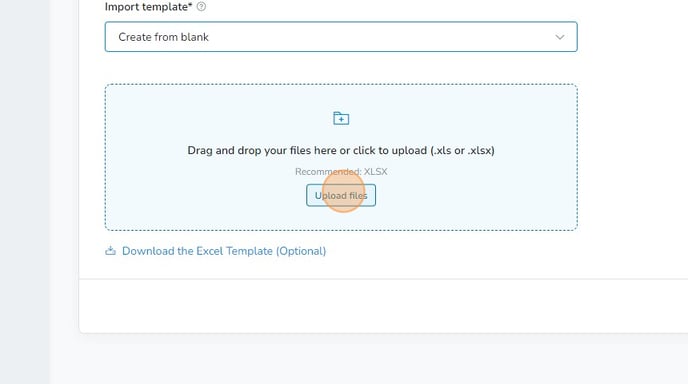
Note: Downloading the Assessment Import Template spreadsheet can make uploading your assessment easier.
Each column header of the template has a detailed description and example data. Required column headers are in red text and tooltips appear by hovering over the comment (the red corner on the top right of the column header cell).

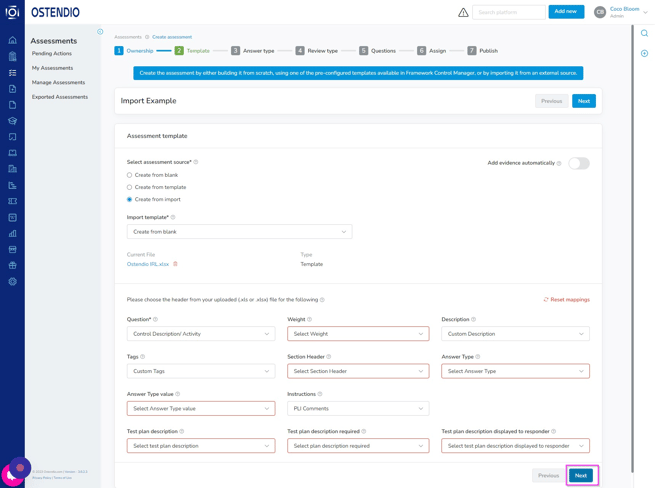
- You must now manually map the appropriate columns from your import to create your assessment. Select the column headers from the .xls or .xlsx file in each dropdown to determine where you would like the information from within those columns to be mapped in the Ostendio Assessment.
Map (connect) as many column headers as possible from your imported excel spreadsheet with the platform. This allows the system to automatically identify the imported content, simplifying the process for you. Additionally, users can import additional columns with the ability to display a different title, provide a description and choose to make optional or mandatory.
- Once you have mapped the necessary headers, click Next.
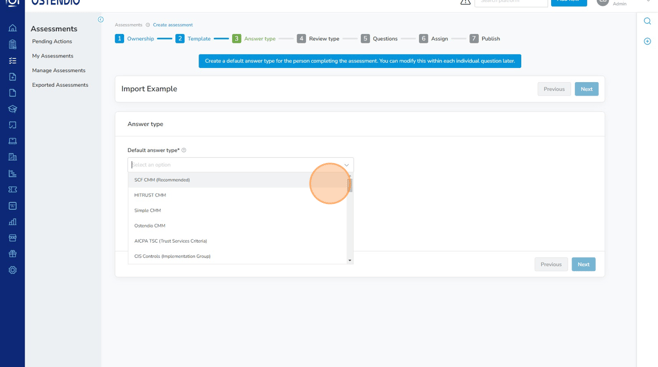
3. Answer Type
Select the Answer Type for the Assessment
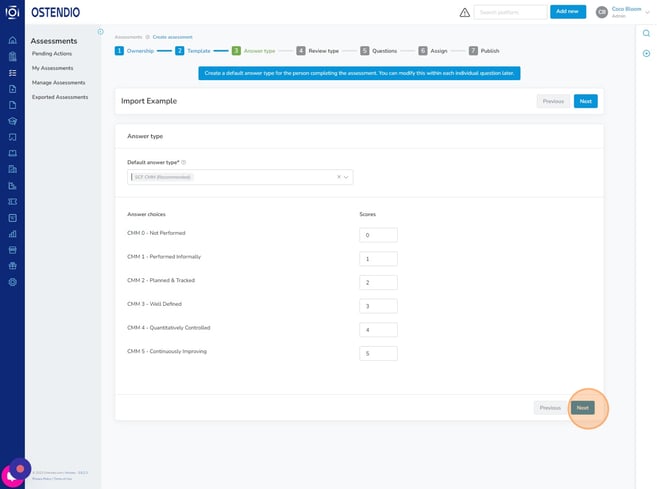
- For this example, we will select our Answer Type as SCF CMM (Recommended).
Note: If you'd like, please select the question score for each question. This assigns a value to each answer type to allow Users to track and analyze the progress or maturity of each question.
Click Next.
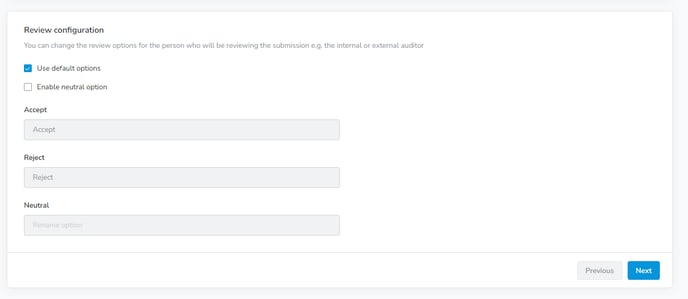
4. Review Type
Within the Review Type section, you will be able to configure the review options for the auditor who will be reviewing this assessment.
- For this example, we will be using the default options, but you can add a neutral option if desired.
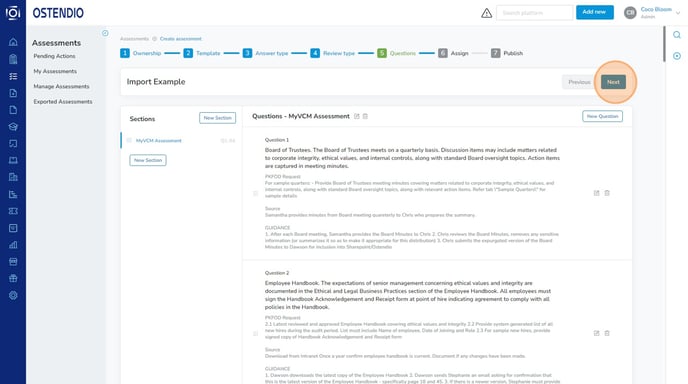
5. Questions
Customize Assessment Questions
- Edit, update, delete, and reorganize the questions in the Assessment to meet the needs or requirements of your Organization. The pen and pad icon will allow you to edit the questions and a drag and drop function will allow you to reorganize the order of Sections and Questions within the Assessment
- Assign a weight to questions (if desired)
- When editing a question, you will notice the ability to assign a weight to the question to define its importance relative to the others in the Assessment. The default question weight is set to '1'.
- Add instructions to a Question or Section
- When editing a Question or Section, the user can add instructions. This helps explain what needs to be done to answer a question or what items should be compiled as evidence in the question. Once published, the user can view the instructions on the Assessment by clicking the question mark next to the section or clicking the 'Show Instructions' button within the Question
- When editing a Question or Section, the user can add instructions. This helps explain what needs to be done to answer a question or what items should be compiled as evidence in the question. Once published, the user can view the instructions on the Assessment by clicking the question mark next to the section or clicking the 'Show Instructions' button within the Question
Click Next
*PRO TIP* Leverage the Rich Text field to expand the functionality in text areas such as 'Description'
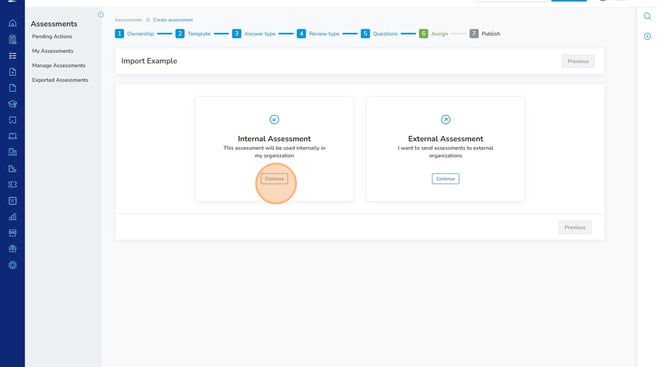
6. Assign
Choose if this assessment will be internal or external.
- For this example, we are creating an internal assessment.
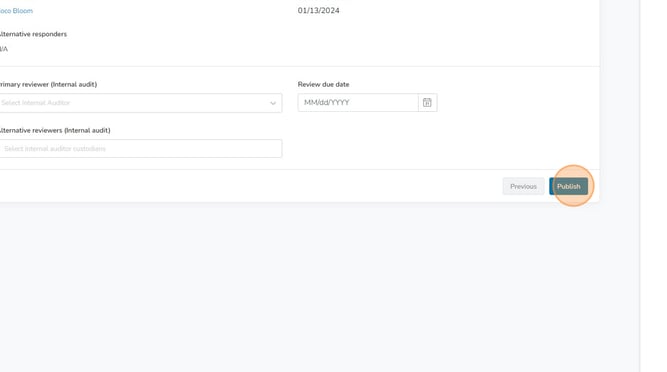
7. Publish
Select the Primary Reviewer (Internal Audit), Alterative Reviewers (Internal Audit), and the Review Due Date. These selections are not required but they are recommended for optimal tracking and organization.

- Click Publish
Congratulations! You have successfully created an Assessment from Import. You are now able to view your assessment's Information, Questions, Insights, and Activity Log.
