Configuration using SAML
Steps for configuration
- OLS-1: Login to your OneLogin instance
- OLS-2: Select “Application” from Menu under “Application”

- OLS-3: Click on “Add App”
- OLS-4: Search for “Ostendio” application
- Click on application find in search.

- OLS-5: Add “Ostendio” application & add following details to “Configuration settings”
- Provider = “OneLogin”
- ClientID = *Domain name for your Ostendio Instance
- E.g.: abcd.ostend.io, xyz.ostend.io etc.

- OLS-6: No changes required in “Parameters” or “Rules”

- OLS-7: Save the URL mentioned in “SAML 2.0 Endpoint (HTTP)” (This will be used in later steps).
- This URL will be used to provide link on the xxxx.ostend.io login page for SSO link.

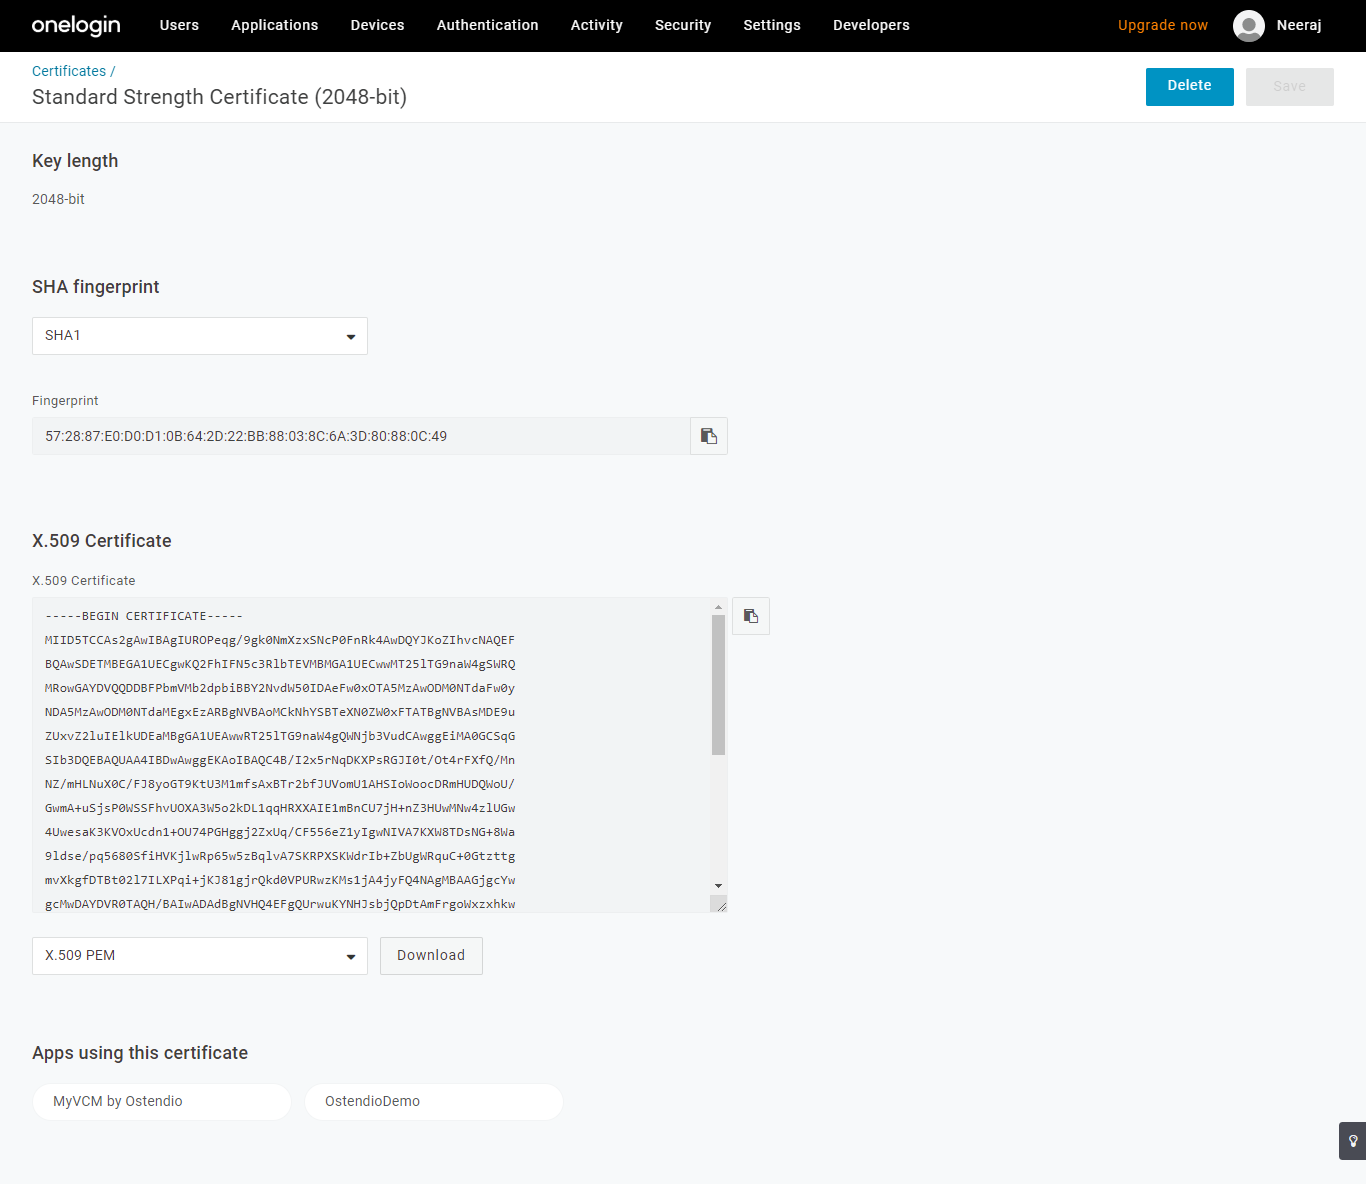
- OLS-8: Click “View details” in certificate as shown above, and download the certificate.
- Save the certificate (This will be used in later steps)
- OLS-9: Add users to this application.
- Do not make any other changes

- OLS-10: Follow steps GO-1 to GO-4 as provided and then,
- Select “OneLogin” under “Select SSO Options”
- Select “SAML” in-front “OneLogin”
- Upload certificate file downloaded in step OLS-8. This field is mandatory
- Provide “OneLogin Domain URL” save in step OLS-7. This field is mandatory
- Click “Save”
