To add a new user:
- From the left side menu, click the Settings icon and select Users.

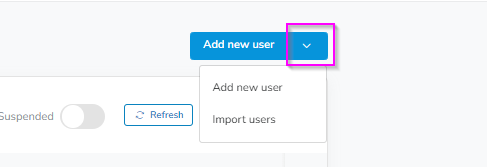
2. Once on the Users page, click the dropdown arrow to the right of the blue Add New User button. The drop-down menu will give you two options: Add New User and Import Users. We will cover each option below.

Manually Add a New User
1. Click Add New User and fill in all the required information.

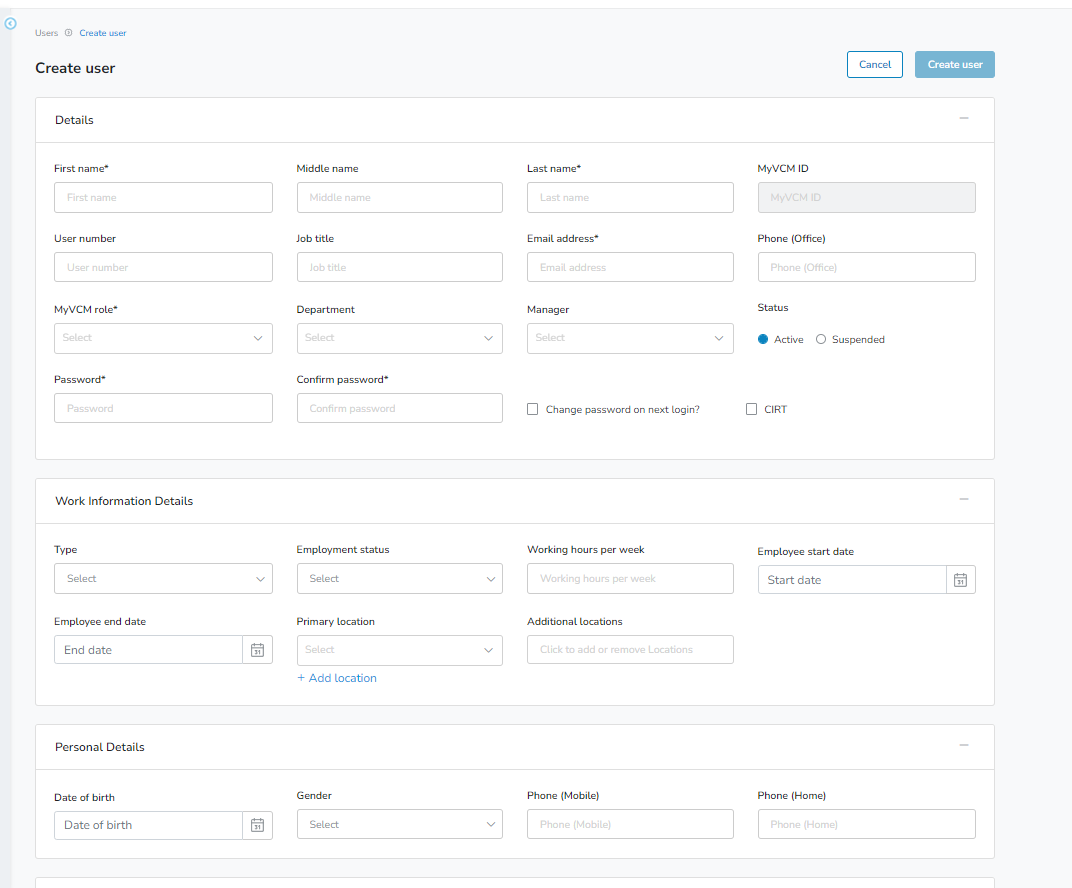
Helpful tips for filling out the Add User form:
- Email: Each email ID must be unique and cannot be shared among multiple users.
- Role: Select whether the user is a Site Admin, Admin, or User.
- Manager: When enabled, this will allow for escalation alerts.
- Status: Only users that are in Active status can log in to the platform. Users marked as inactive still count as an active license.
- Password: Set a password for the new user.
- Change password on next login?: Choose this option to prompt the user to reset their password during their next login.
- CIRT: Select the checkbox if the user is part of your Critical Incident Response team, and if so, list their mobile phone number.
2. After you have filled out the necessary fields, please click Create user. A small window will appear asking if you would like to notify the user of their new account. 
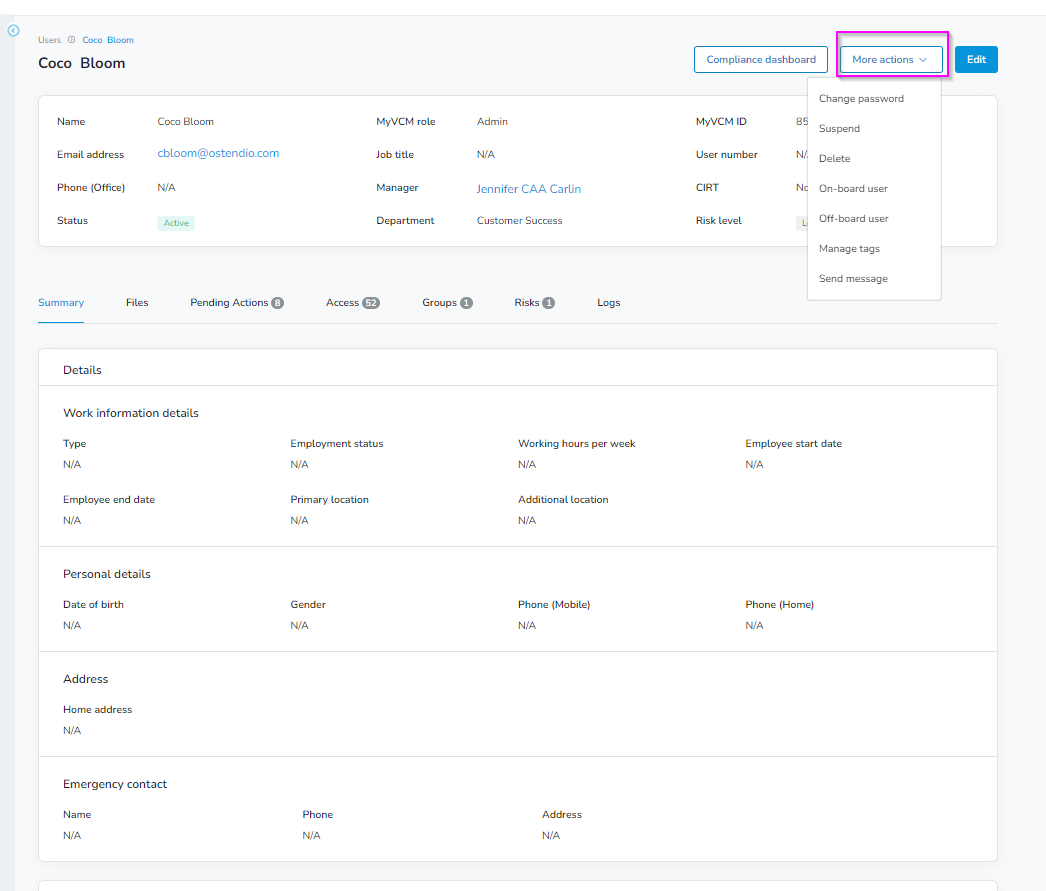
3. After creating the user, you are taken to the user profile. From here you can click on the More actions drop-down in the top-right corner to take the following actions:
- Change password
- Suspend
- Delete
- On-board user
- Off-board User
- Manage tags
- Send message
Bulk Import
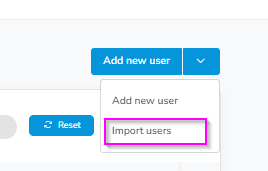
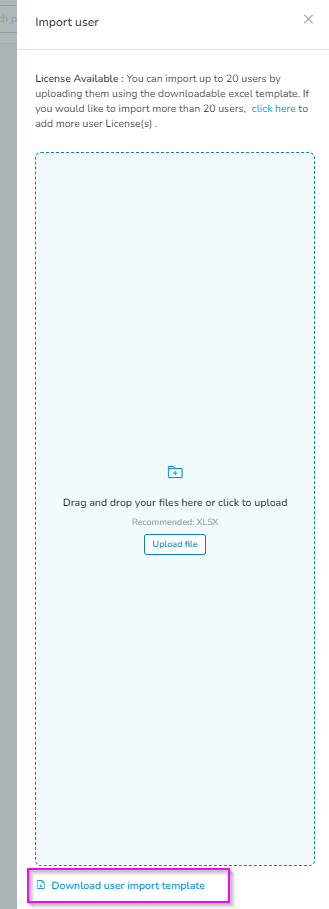
1. If you prefer to import the user, please download the Excel spreadsheet template from the Import Users button and choose Download user import template. You can then fill in all the necessary and appropriate fields.
Pro Tip: All required fields (as seen below) are listed in red.
- Email ID
- First Name
- Last Name
- Ostendio Role

Helpful Tips:
- If you need to assign a manager to any user, simply use the manager's email address and Ostendio will fill in the details.
- Only users that are in Active status can log in to the platform. However, users marked as Inactive still count as an active license. Selecting a status for a user is optional, but the system will automatically mark the user as inactive if you do not indicate otherwise.
2. When you have filled out the fields, please save your file and upload it to Ostendio. You will be taken to the next step where you can review all records included in your import and identify and fix any issues. Click Import all when you have confirmed there are no records with issues.


3. The new users will then be uploaded to the system.
Pro-Tip: After adding your user, you might want to add them to a Group, or use the On-boarding Smart ticket, to make assigning new items to the user easier.