Create / Edit Asset's Access List
- Select the Asset module from the left-side tray
- Click Manage Assets.
- Select the Asset you would like to manage roles for.

- When viewing an asset, click on the Access List tab.
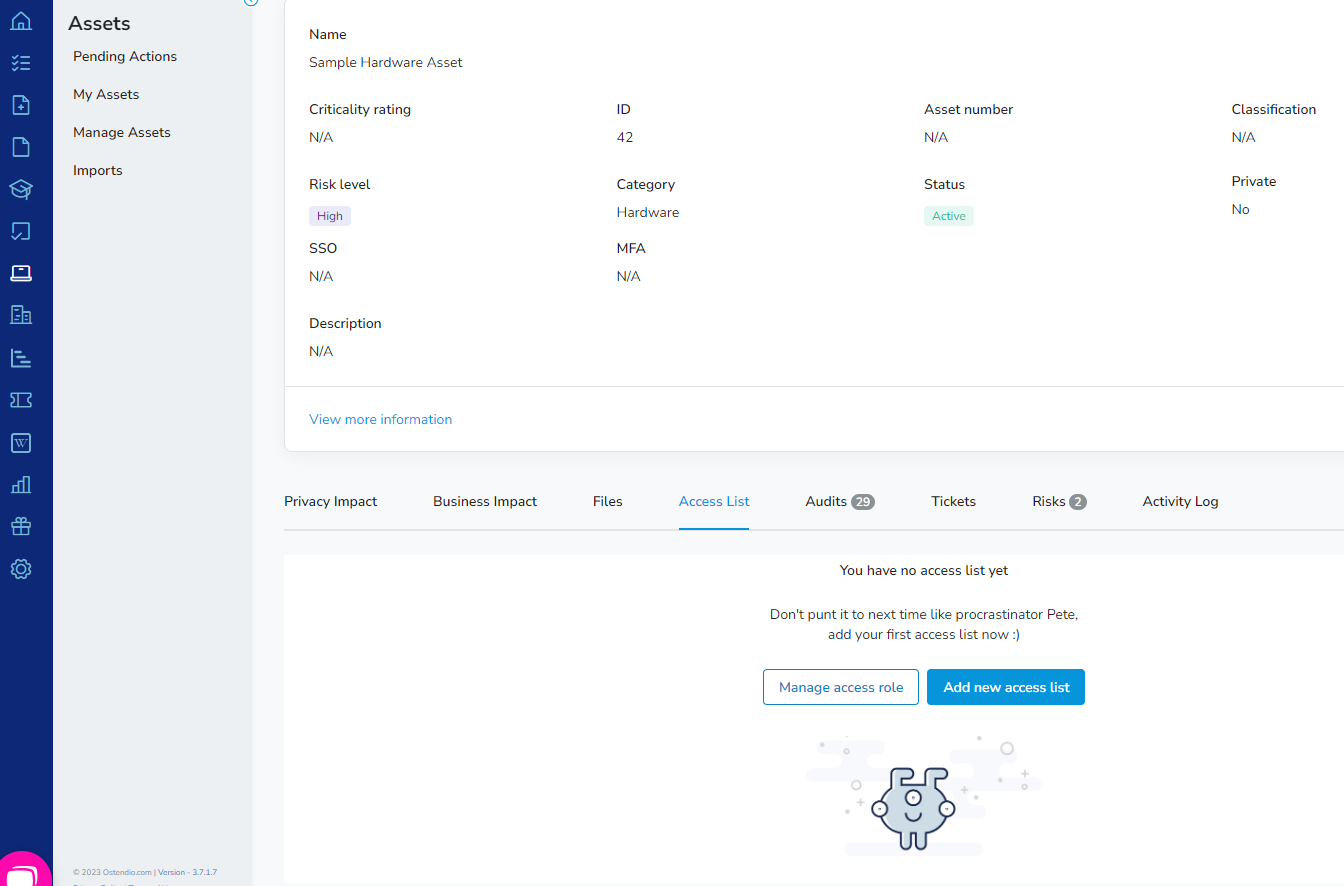
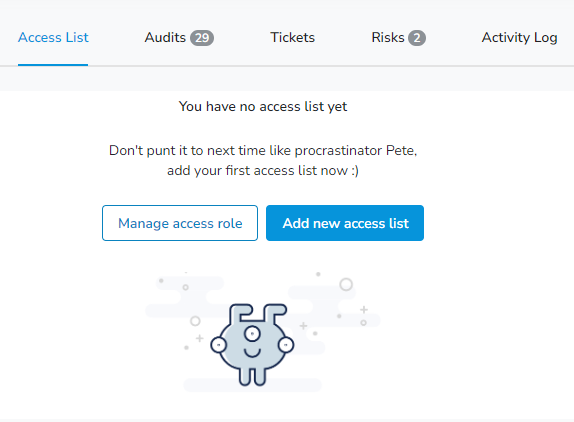
- An asset with no users assigned to an access role will be met with two options:
- Manage access role
- Add new access list
Add new access list
- Begin by adding a user or multiple users to the access list of this asset.
Manage access role
- Clicking the Manage access role button will open the side tray, showing the full list of all asset access roles in configurable lists.
- Users have the ability to activate any roles from the list to apply to this asset. The status will indicate whether the role is active or inactive for the asset.
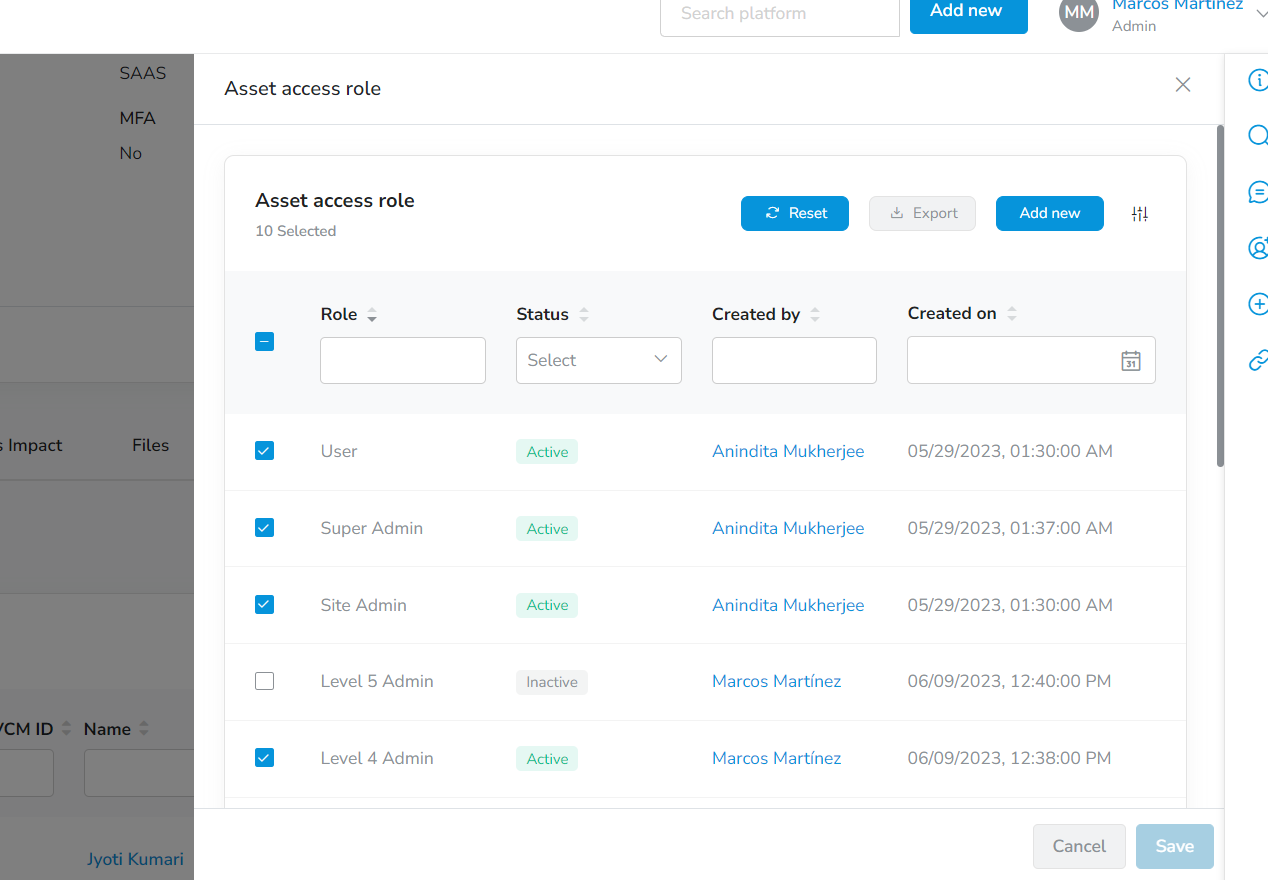
- Create additional roles without having to navigate to the assets access list by clicking the Add new button. Save a unique name to add it to the full list.


- Once the desired roles to apply to the asset have been selected, click the save button. Activating and assigning a role takes less than 20 seconds, but users can also grant and revoke access and roles by using a SMART Ticket: the System Access Request ticket type, which will automate the process.